This is very overdue, but I thought I’d write about how I made my teacup candles.
If you’d like to skip below and read a quick recap of my tips for making candles click here.
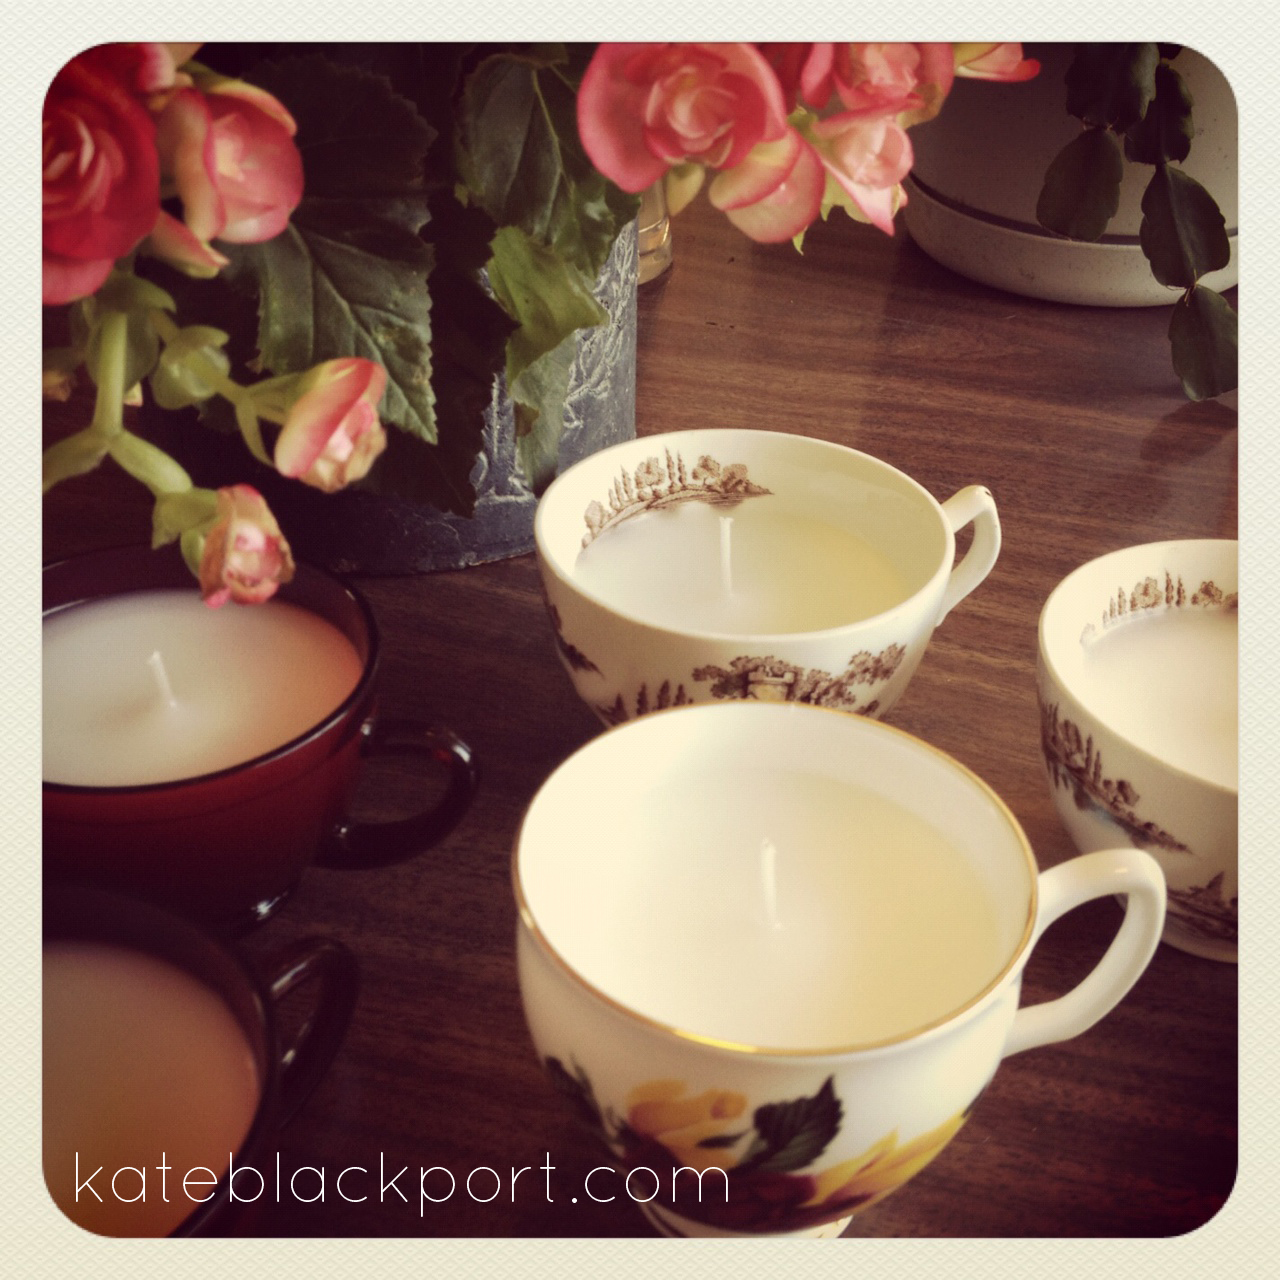
I found the teacups at Value Village (also later got a box of a bunch of gorgeous teacups from Kijiji for $5) and picked up some cute cordial glasses as well. You could use any found or recycled container to make your candle in – doesn’t have to be a teacup! Comment below if you have any interesting ideas of things to make candles in!
The wicks, wax and wax dye I got at Michaels.
I don’t have a picture of the box of wax, but it was one solid chunk of wax in a plastic container.
I just cut chunks off and melted them as I needed to. I might suggest buying wax pellets or shavings as they are a little less hassle and easier to measure what you want to use.
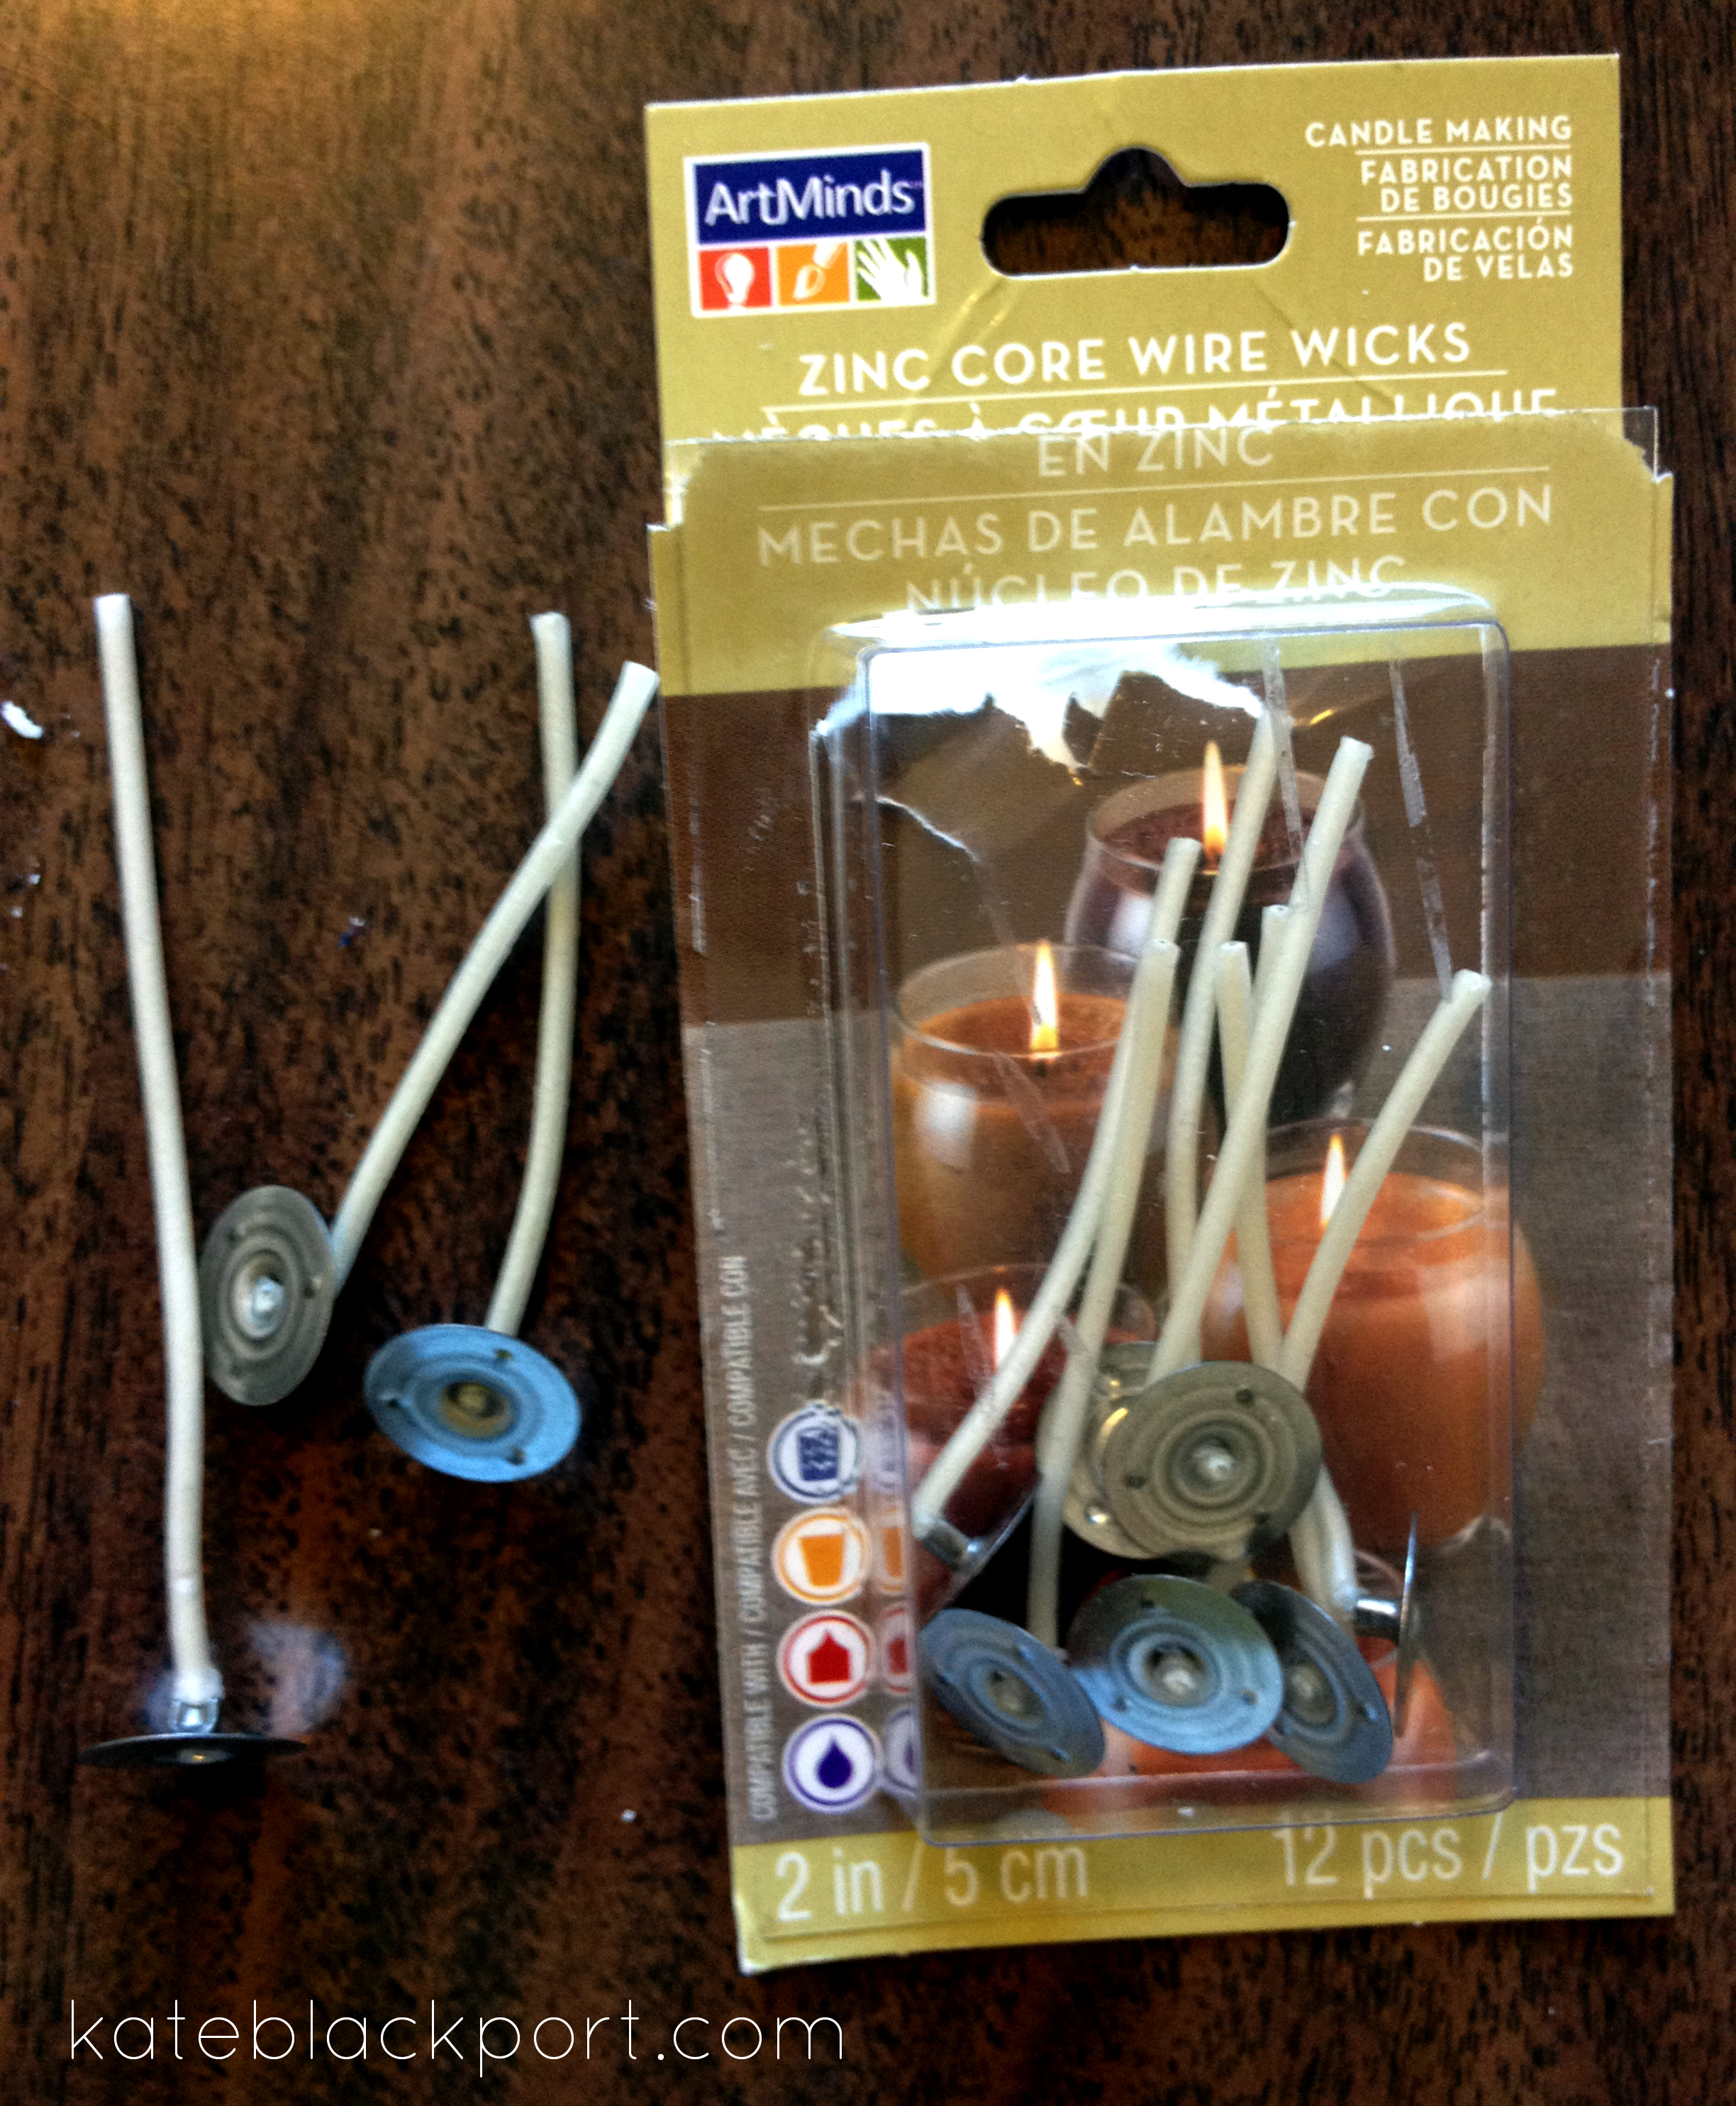
The size of wicks you will need will depend on the size of the teacups or containers you are using.
If you are not sure what to buy, buy longer ones and you can cut them to size.
I first covered my counter with wax paper so I didn’t get wax everywhere.
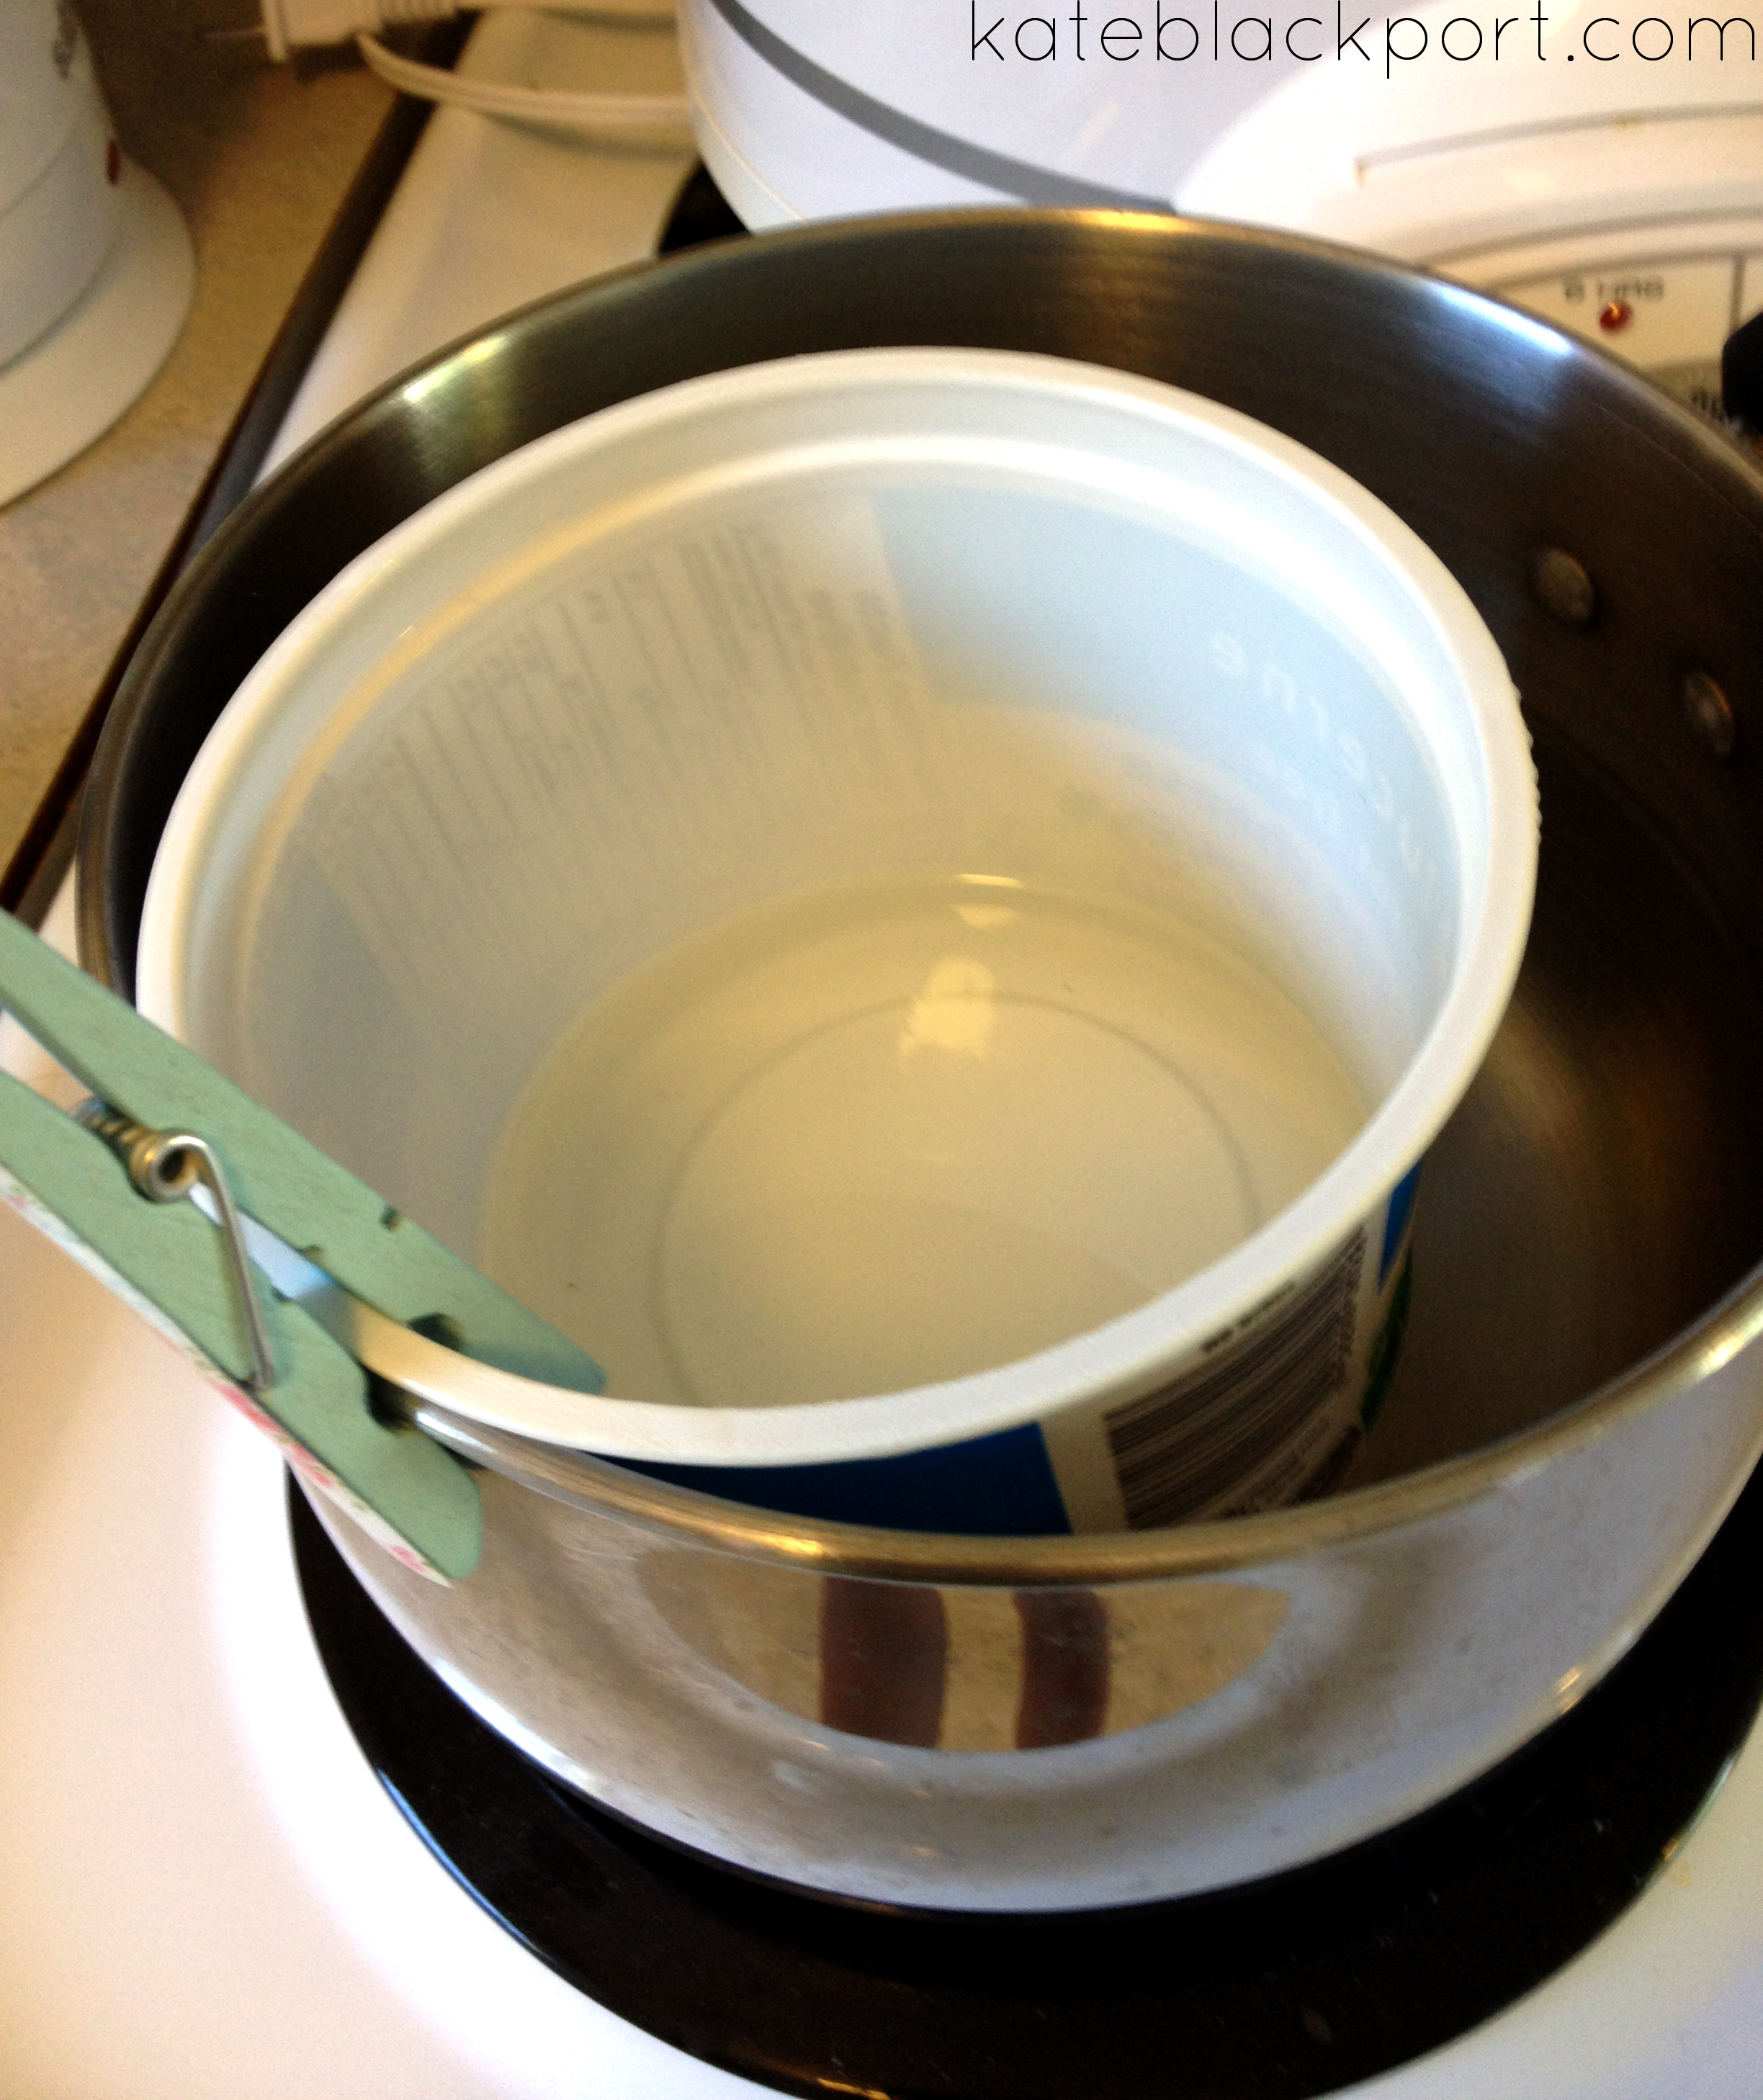
I melted my wax inside an old yogurt container inside a pot of water on the stove. I used a clothespin to hold the container upright and just enough water so that it could simmer and melt the wax, but not too much that it boiled over or got into the wax.
You could also use a wax warmer, but I wouldn’t try that combined with a yogurt container… not sure if it would melt or not.
The yogurt container works great because it doesn’t hold the heat (like a metal bowl would) and you can throw it out when you’re done and not worry about cleaning it.
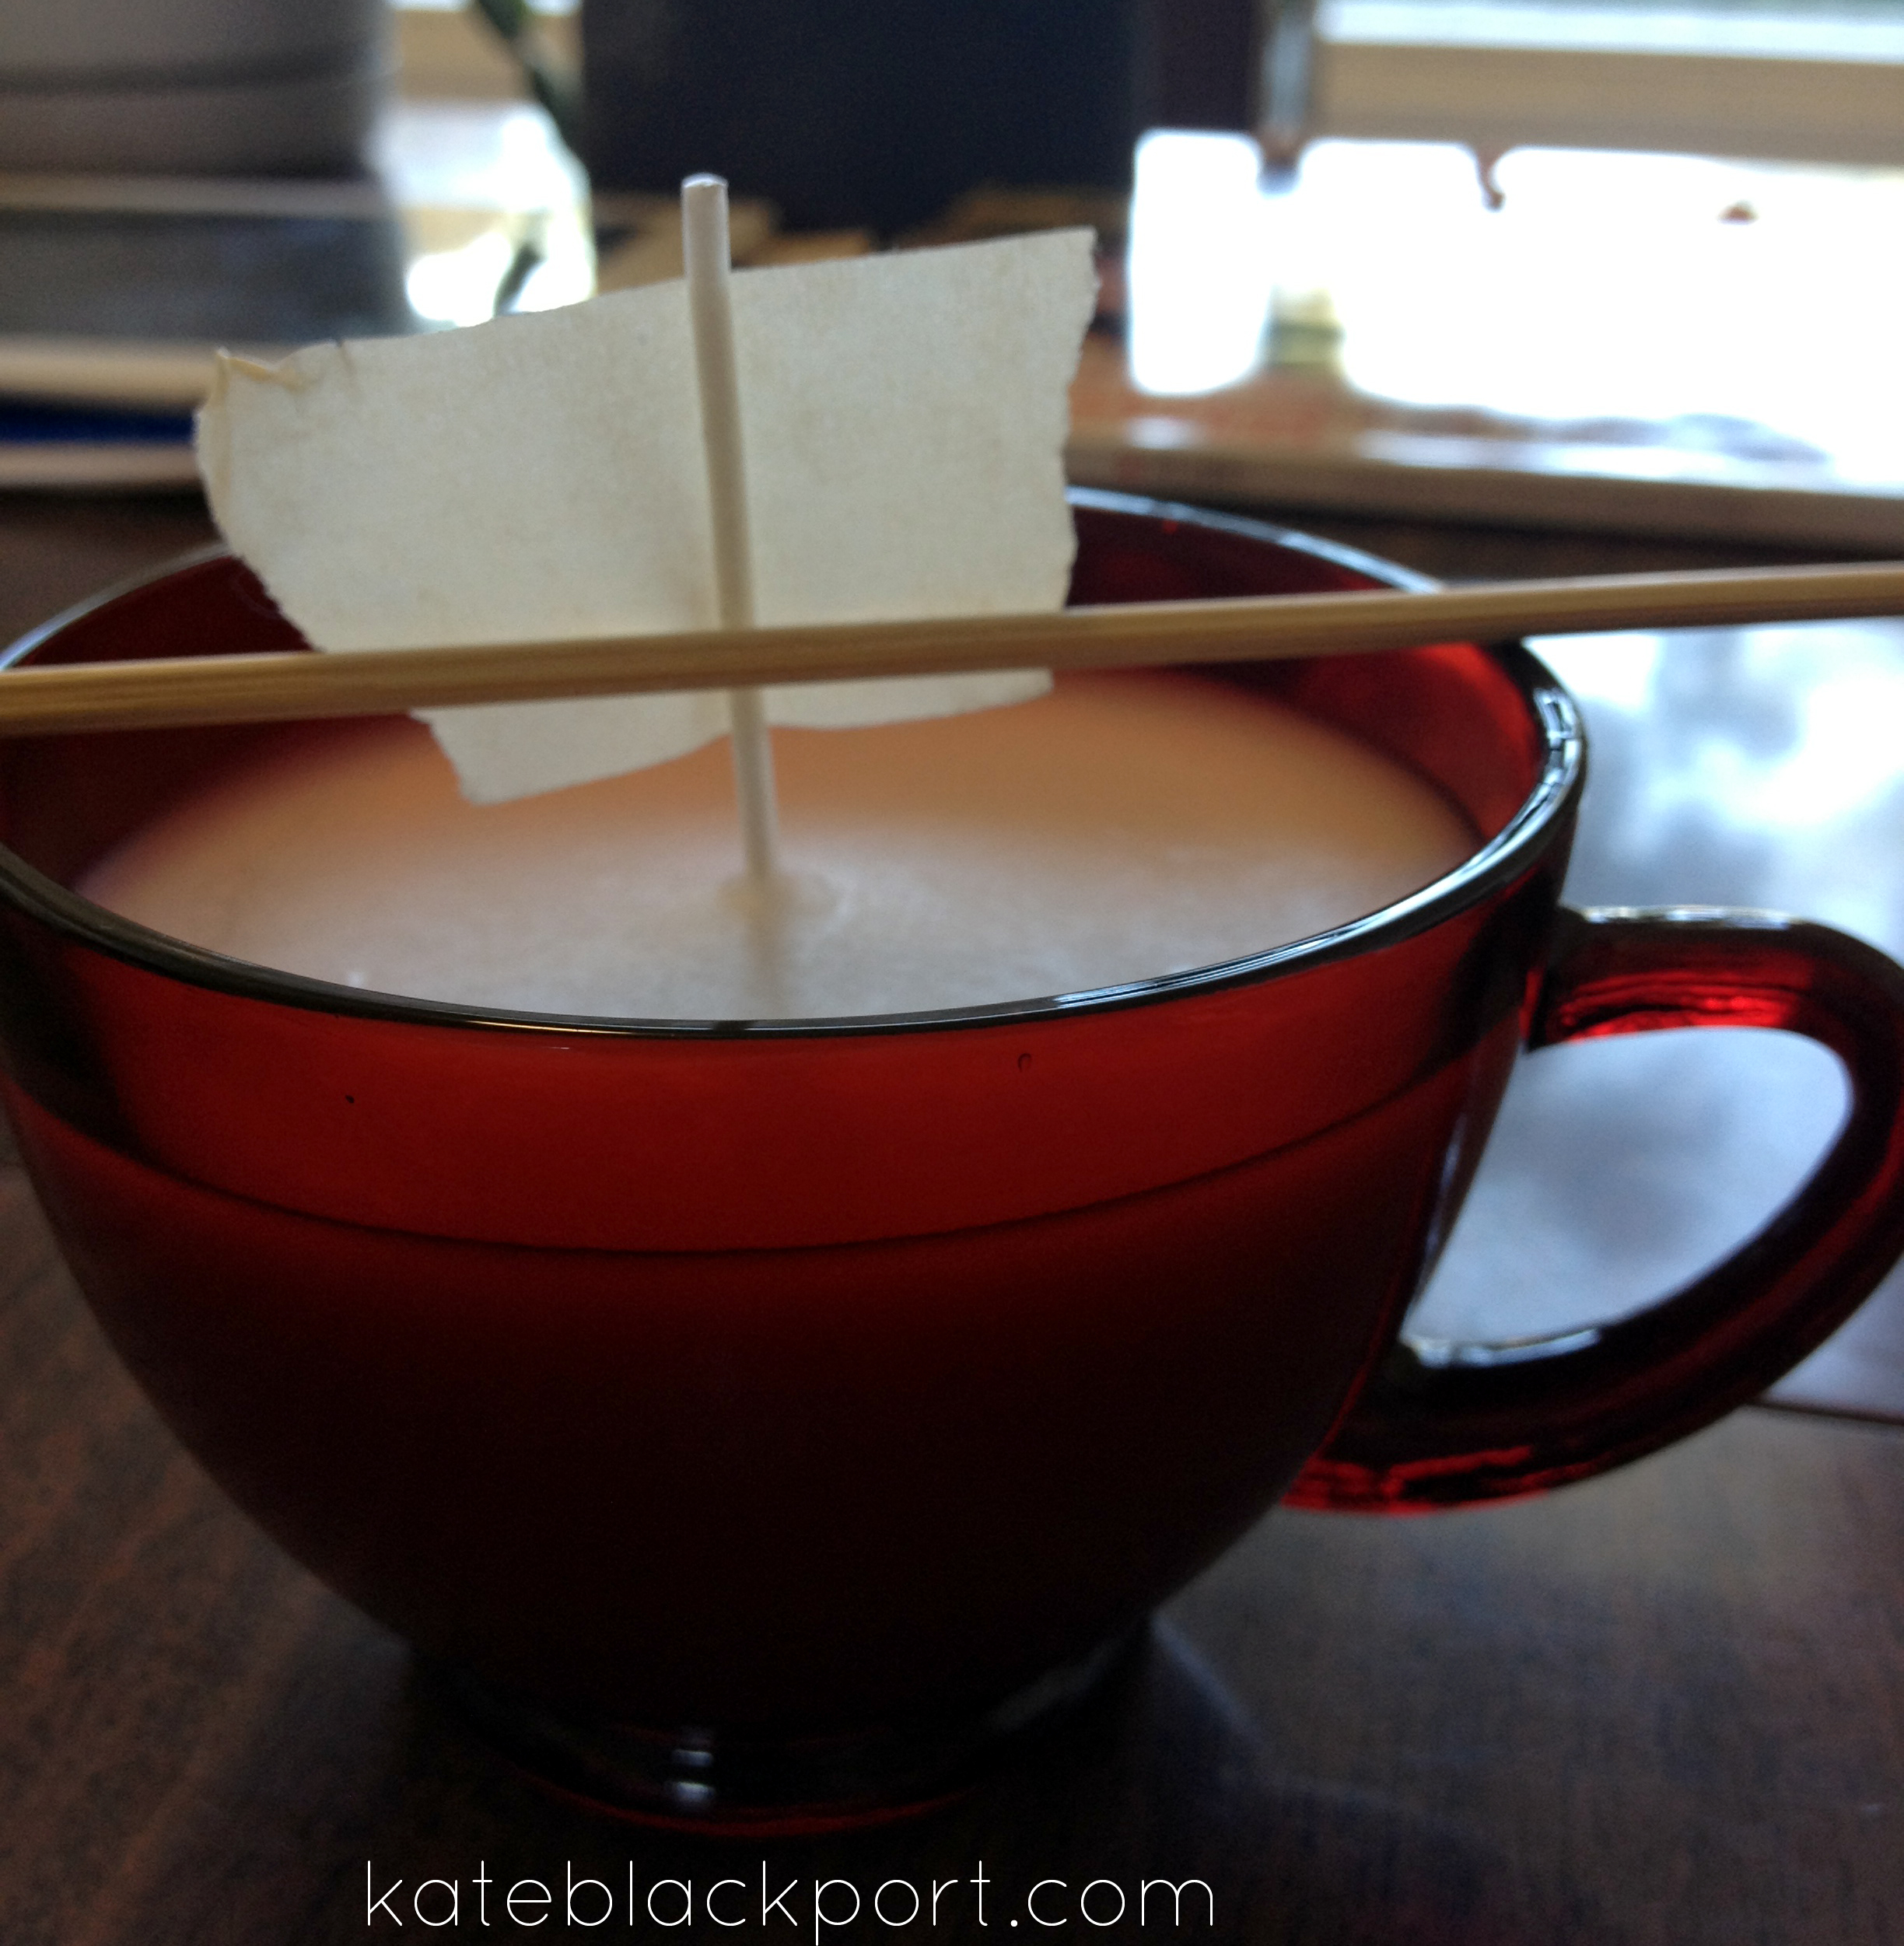
When the wax was melted (or almost melted) I dipped the metal end of the wick into the wax and then pressed it to the bottom of my teacup to keep it in place.
Then I used a skewer (you could use a popsicle stick or pencil) and taped the wick to it to keep it upright. (See below).
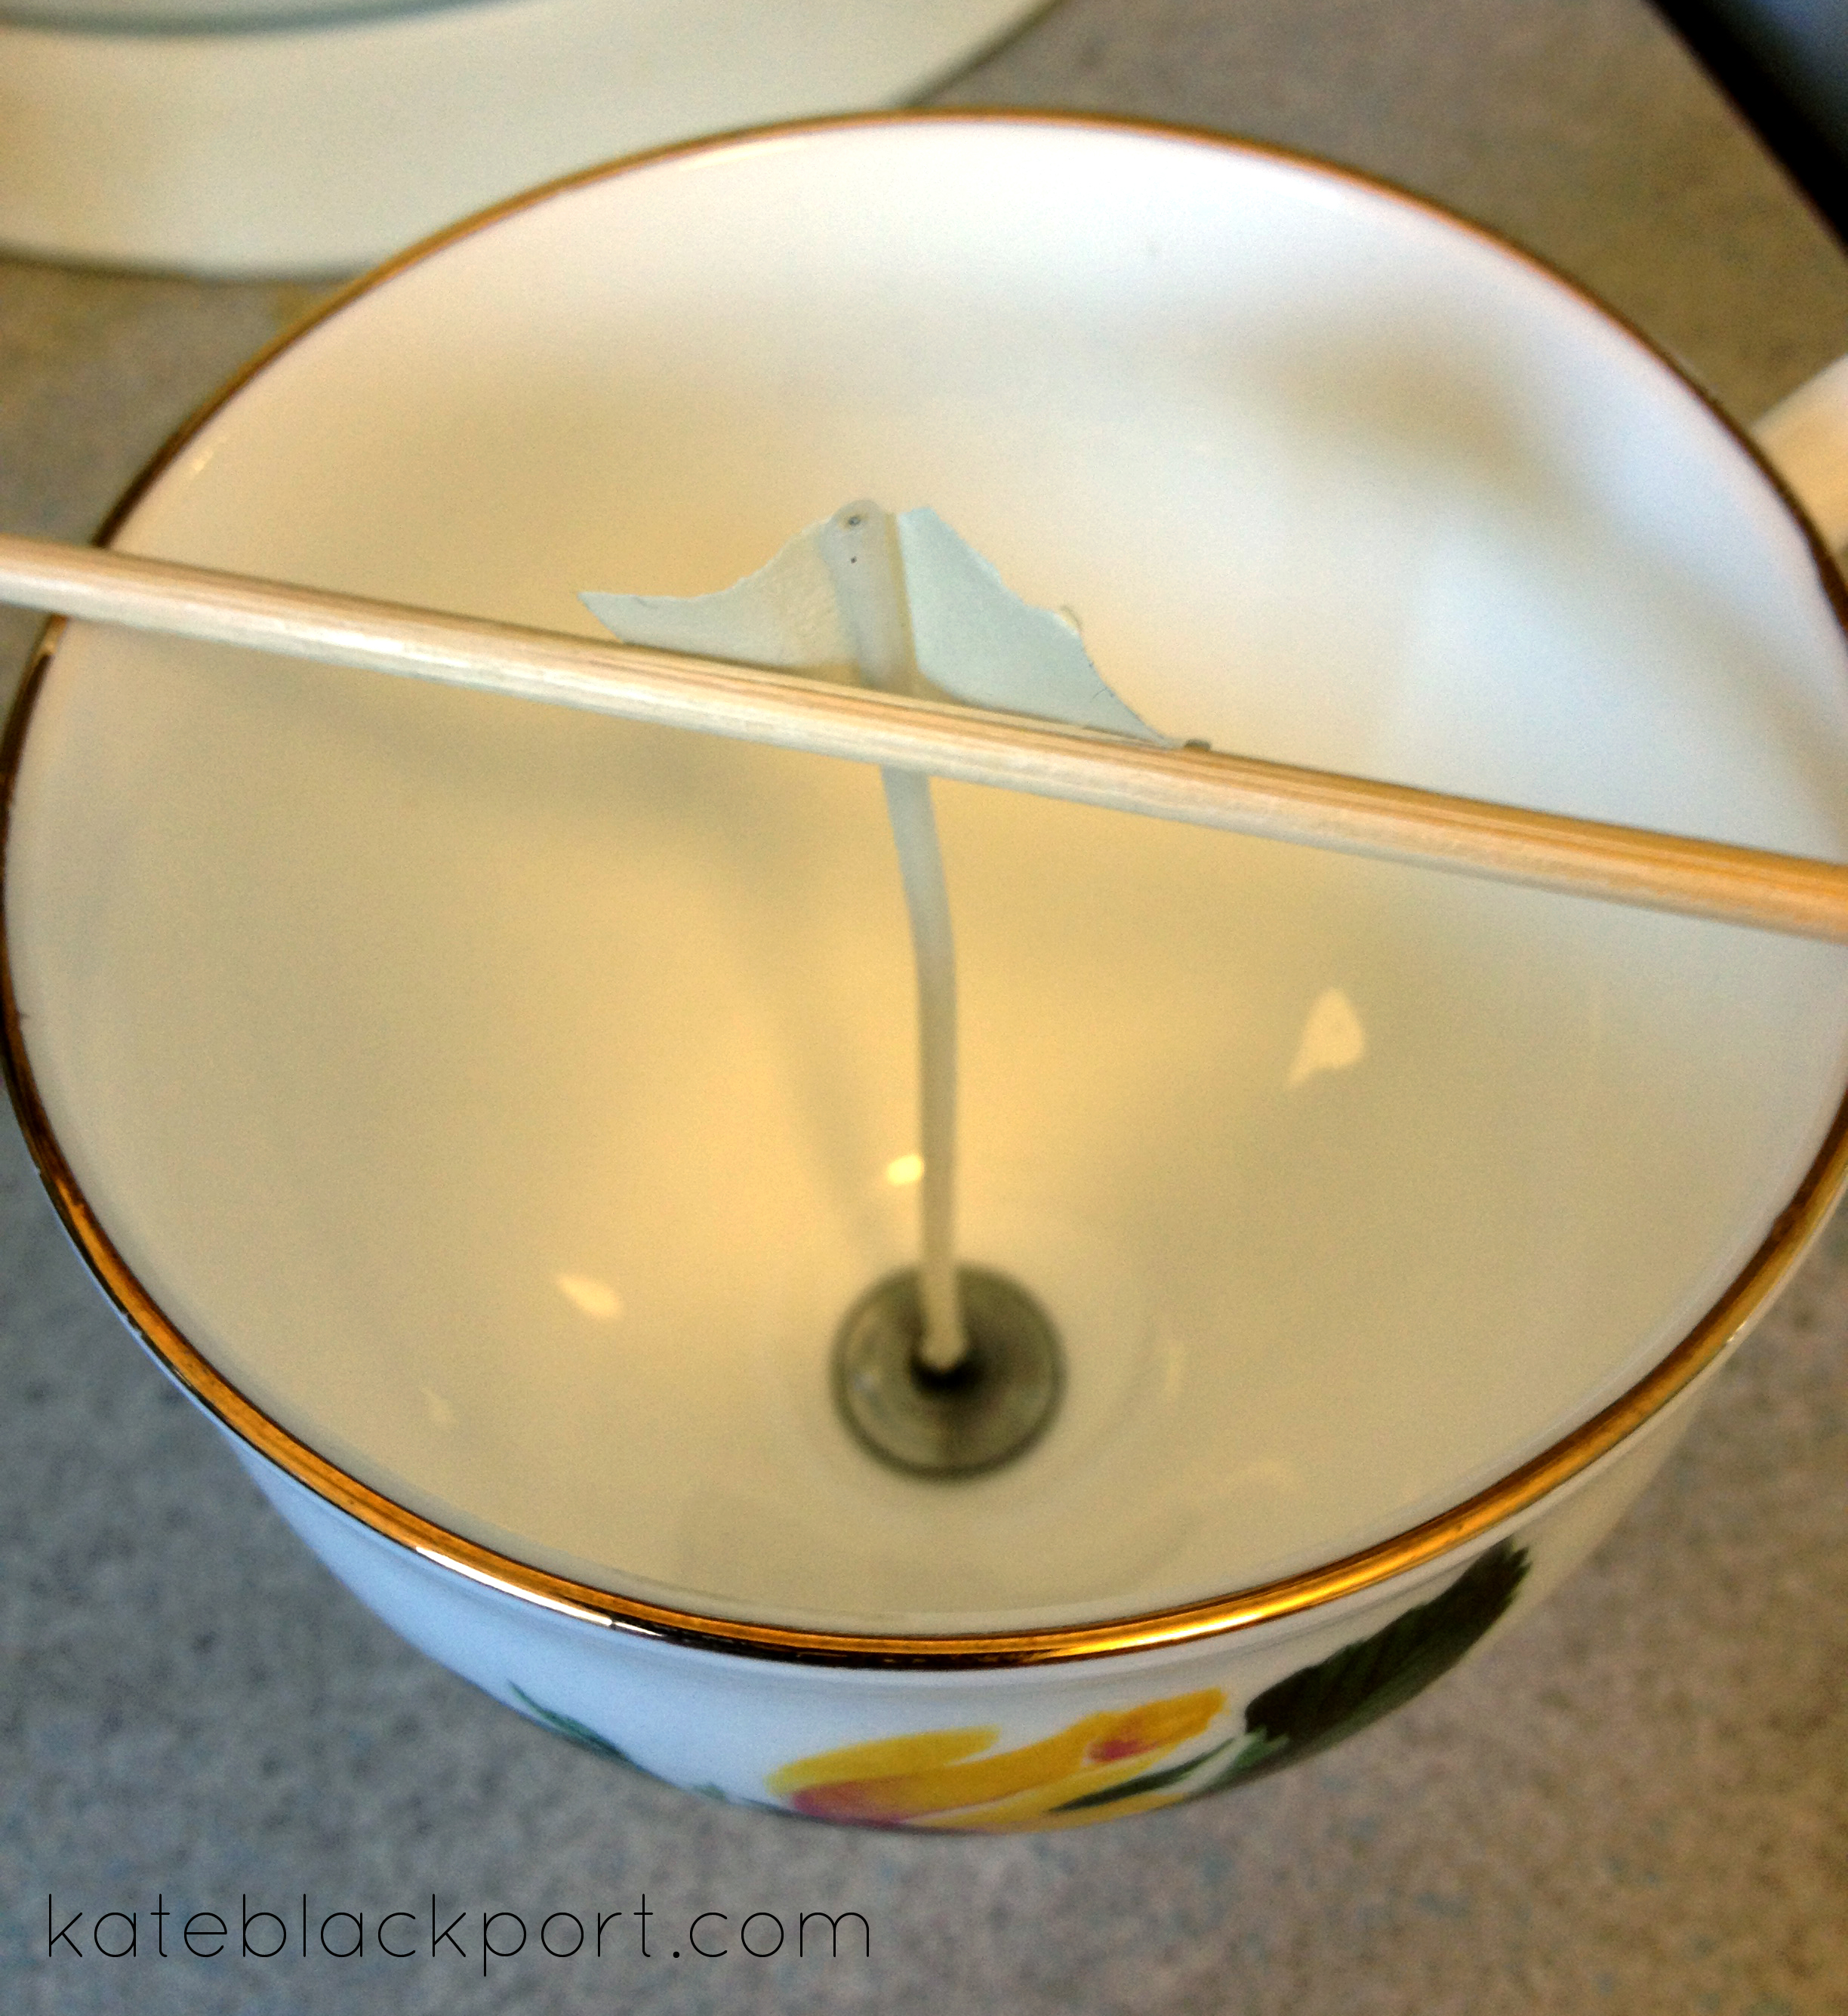
Then I simply poured the wax into the cup until it was as full as I wanted.
I tried not to move the candles until they were cooled so they wouldn’t get wrecked.
I removed the skewer and trimmed the wick to about 3/4″.
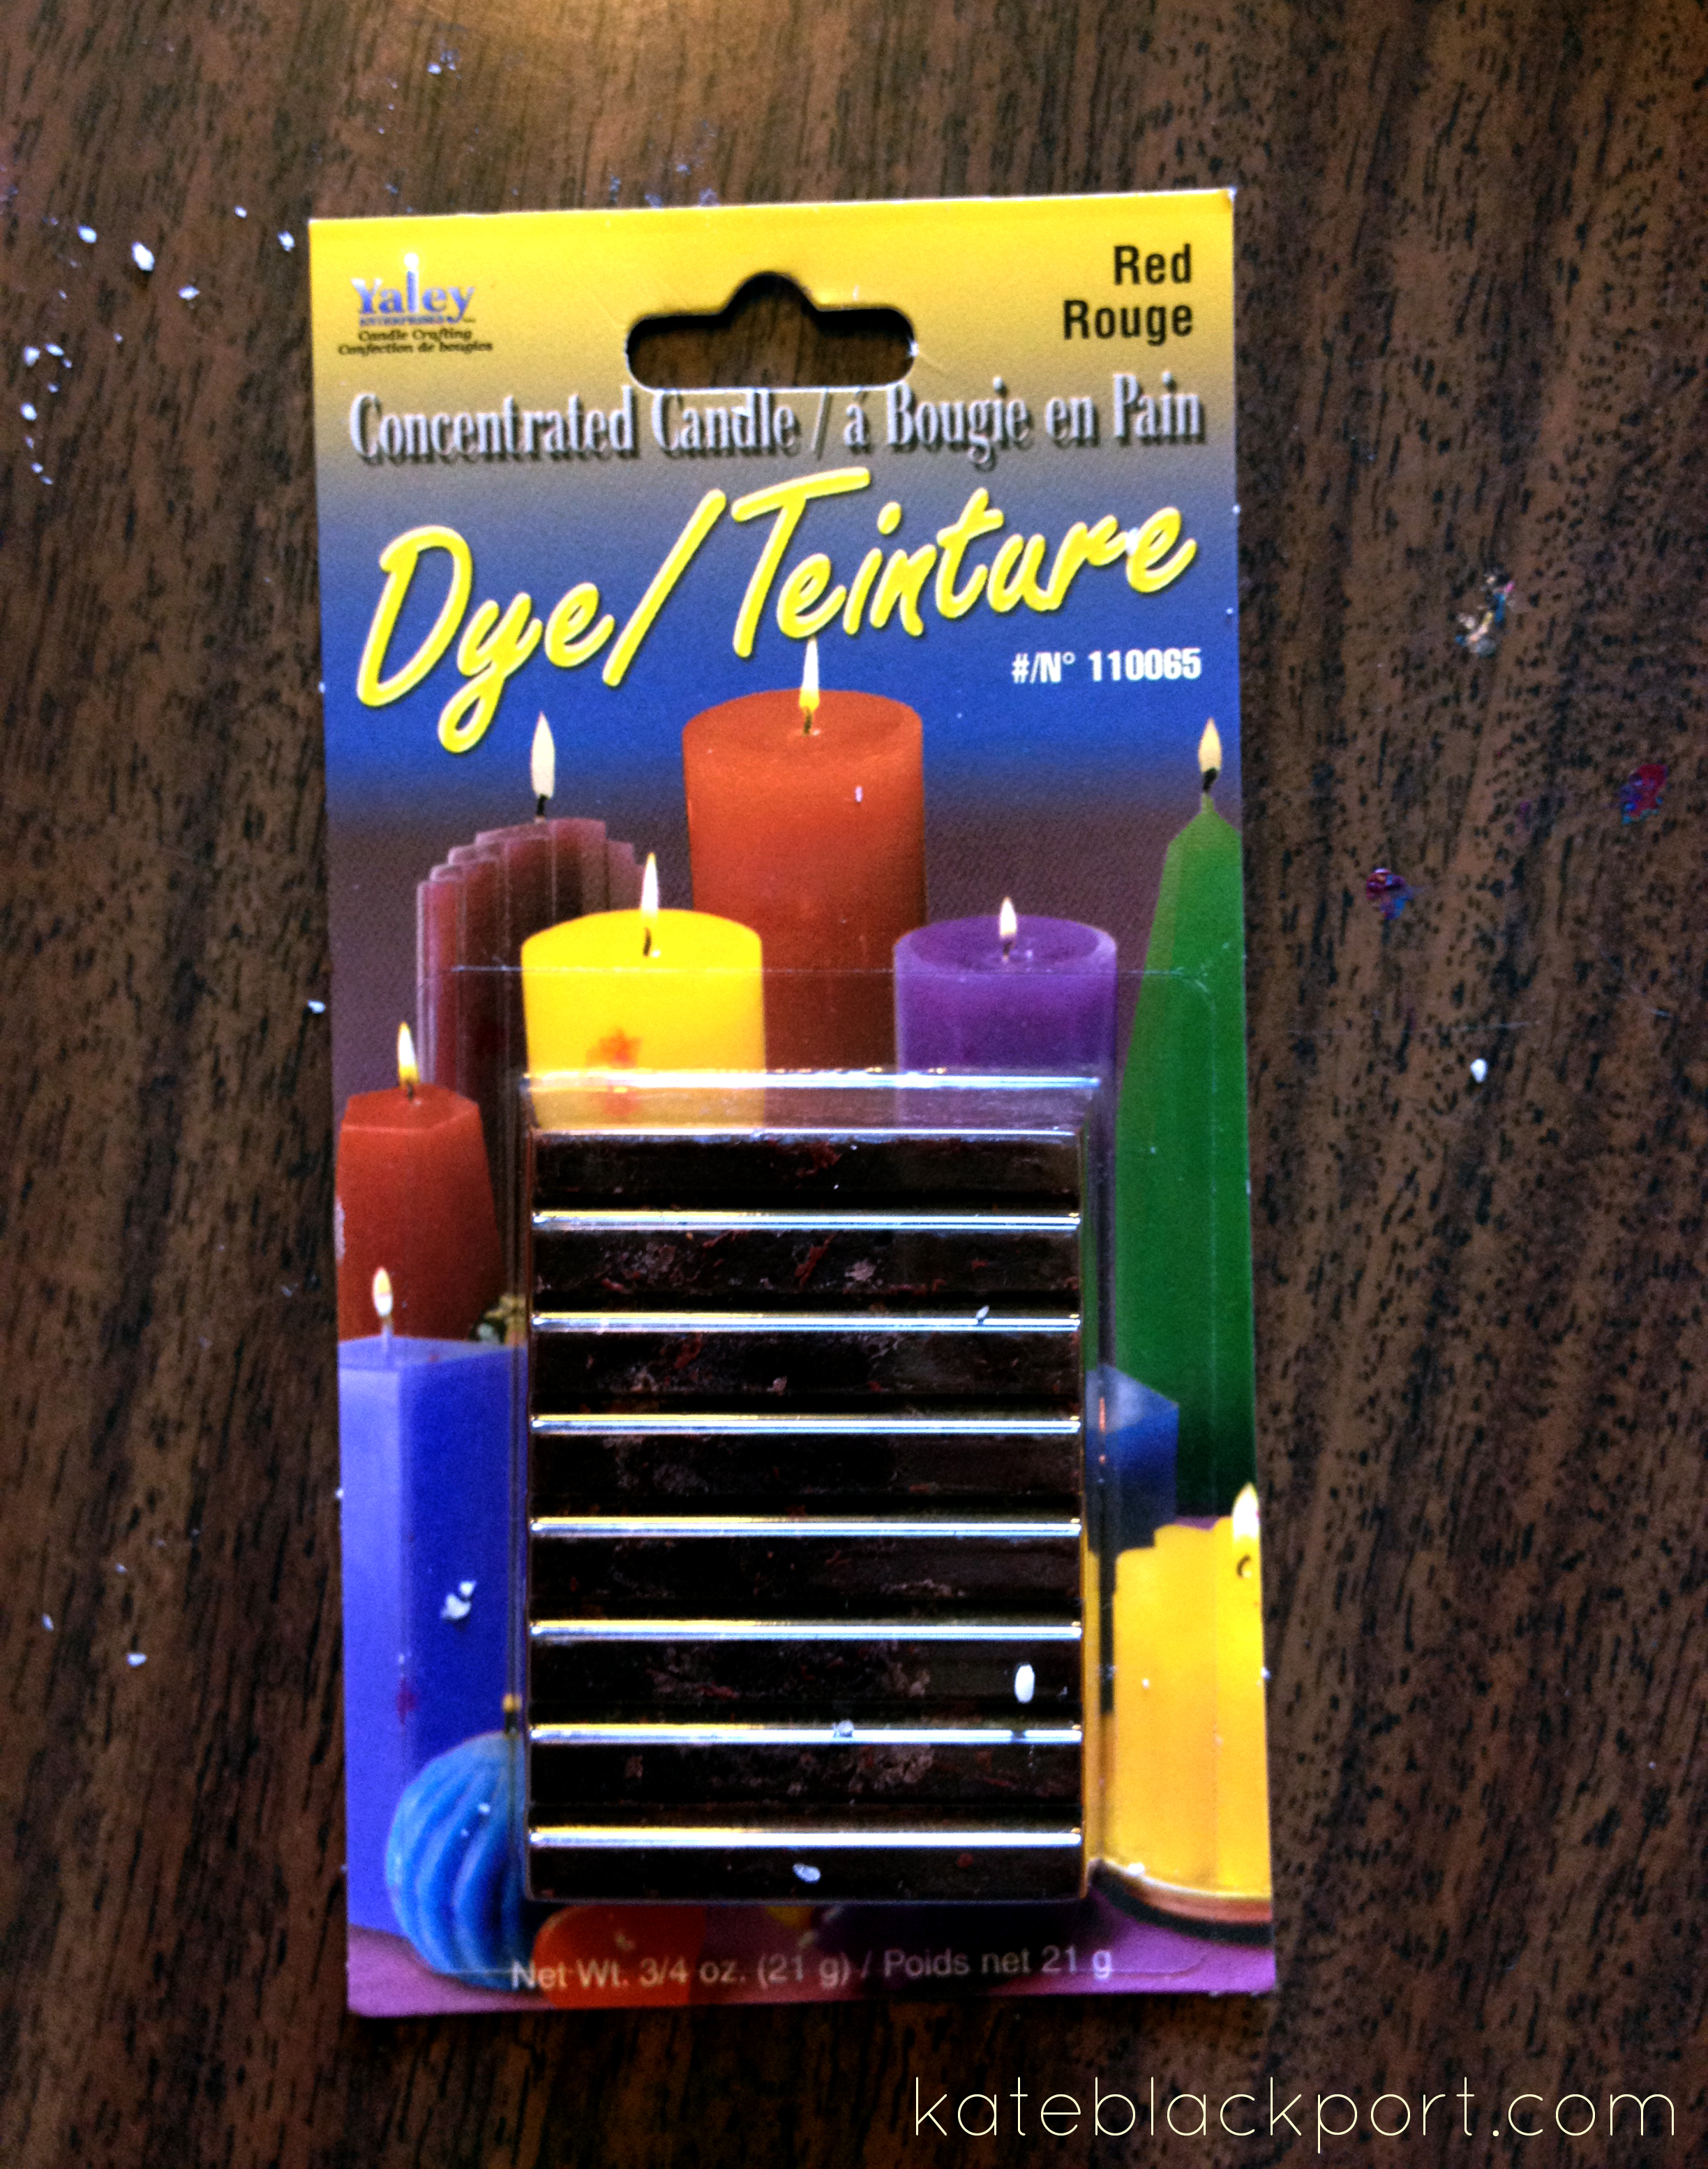
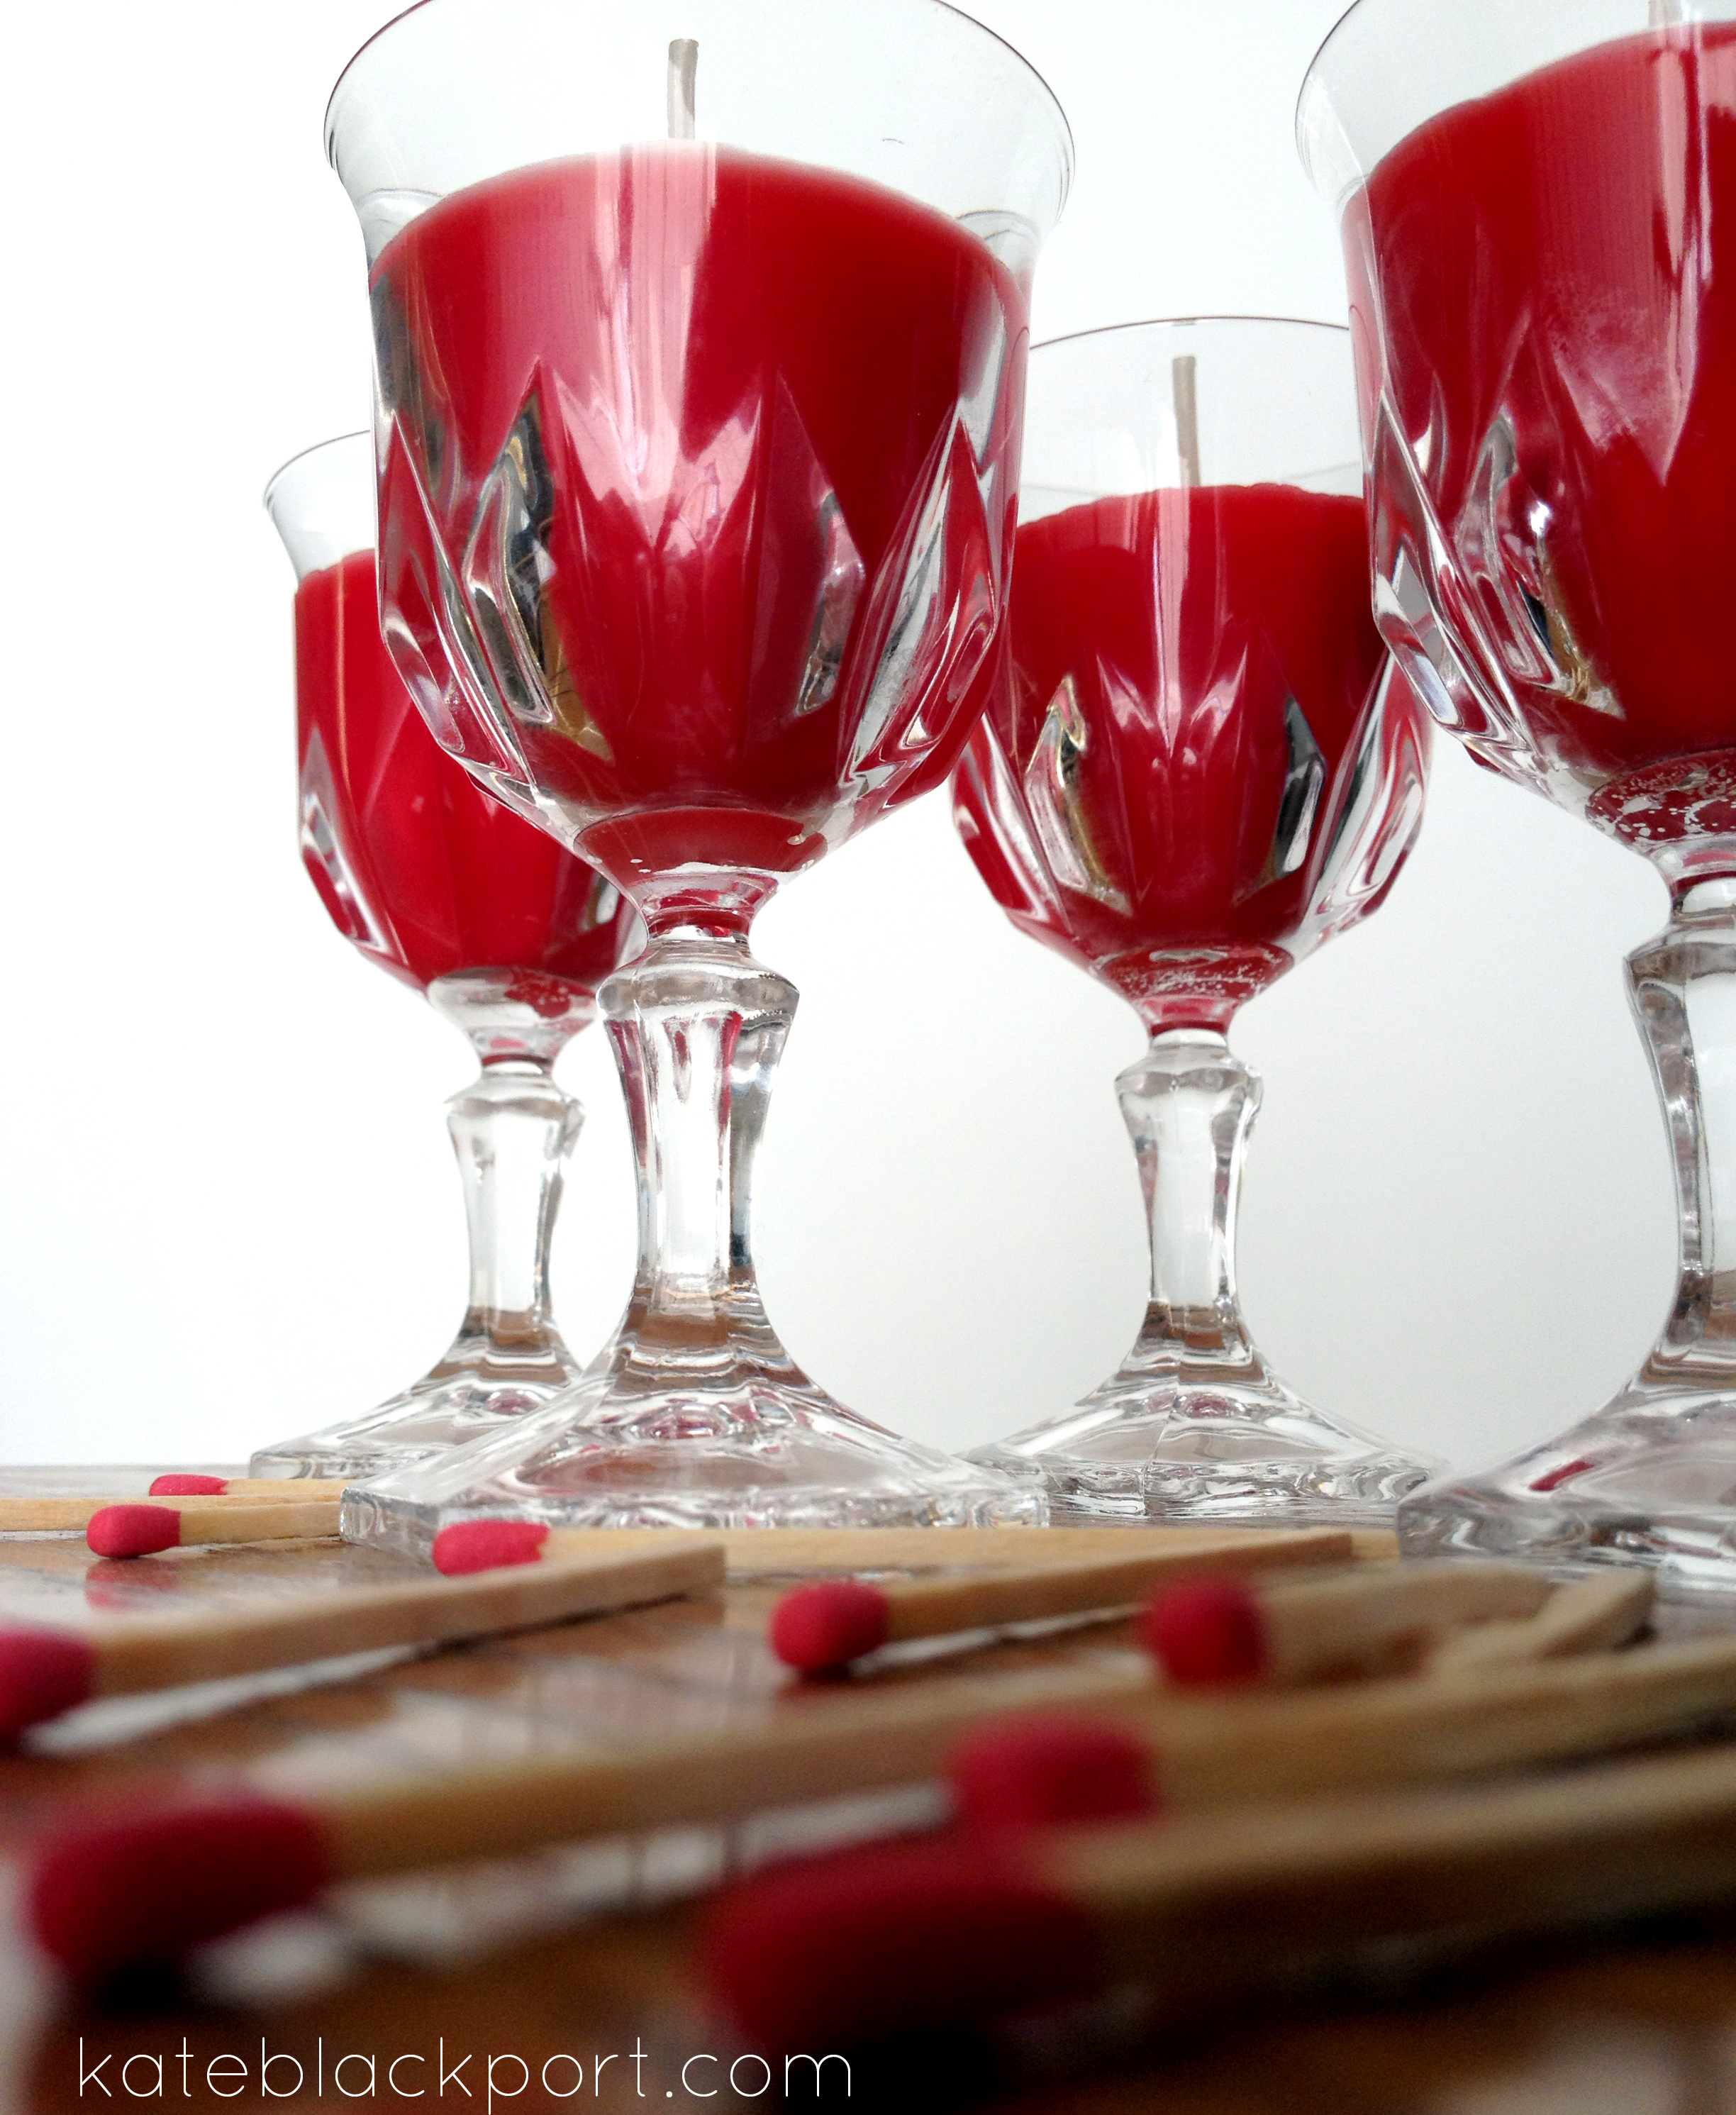
For the coridal glasses I bought a wax dye. And added a bit to my white wax to make the candles look like mini wine glasses.
Candle making like this is sooo easy! If you don’t have wax or don’t want to go out and buy it, you could use the ends of old candles to make a new one. Or you could also use wax crayons… I somewhat tried that and ran into some obstacles, but I want to try it again. I tried making mine by melting the wax in the microwave in paper cups. Don’t do this, the wax melts through the paper cup. I think I’m going to try again, but go back to my yogurt cup method.
This summer I also made some seashell candles from shells I brought back from Denman Island in BC and the ends of some citronella candles I had.
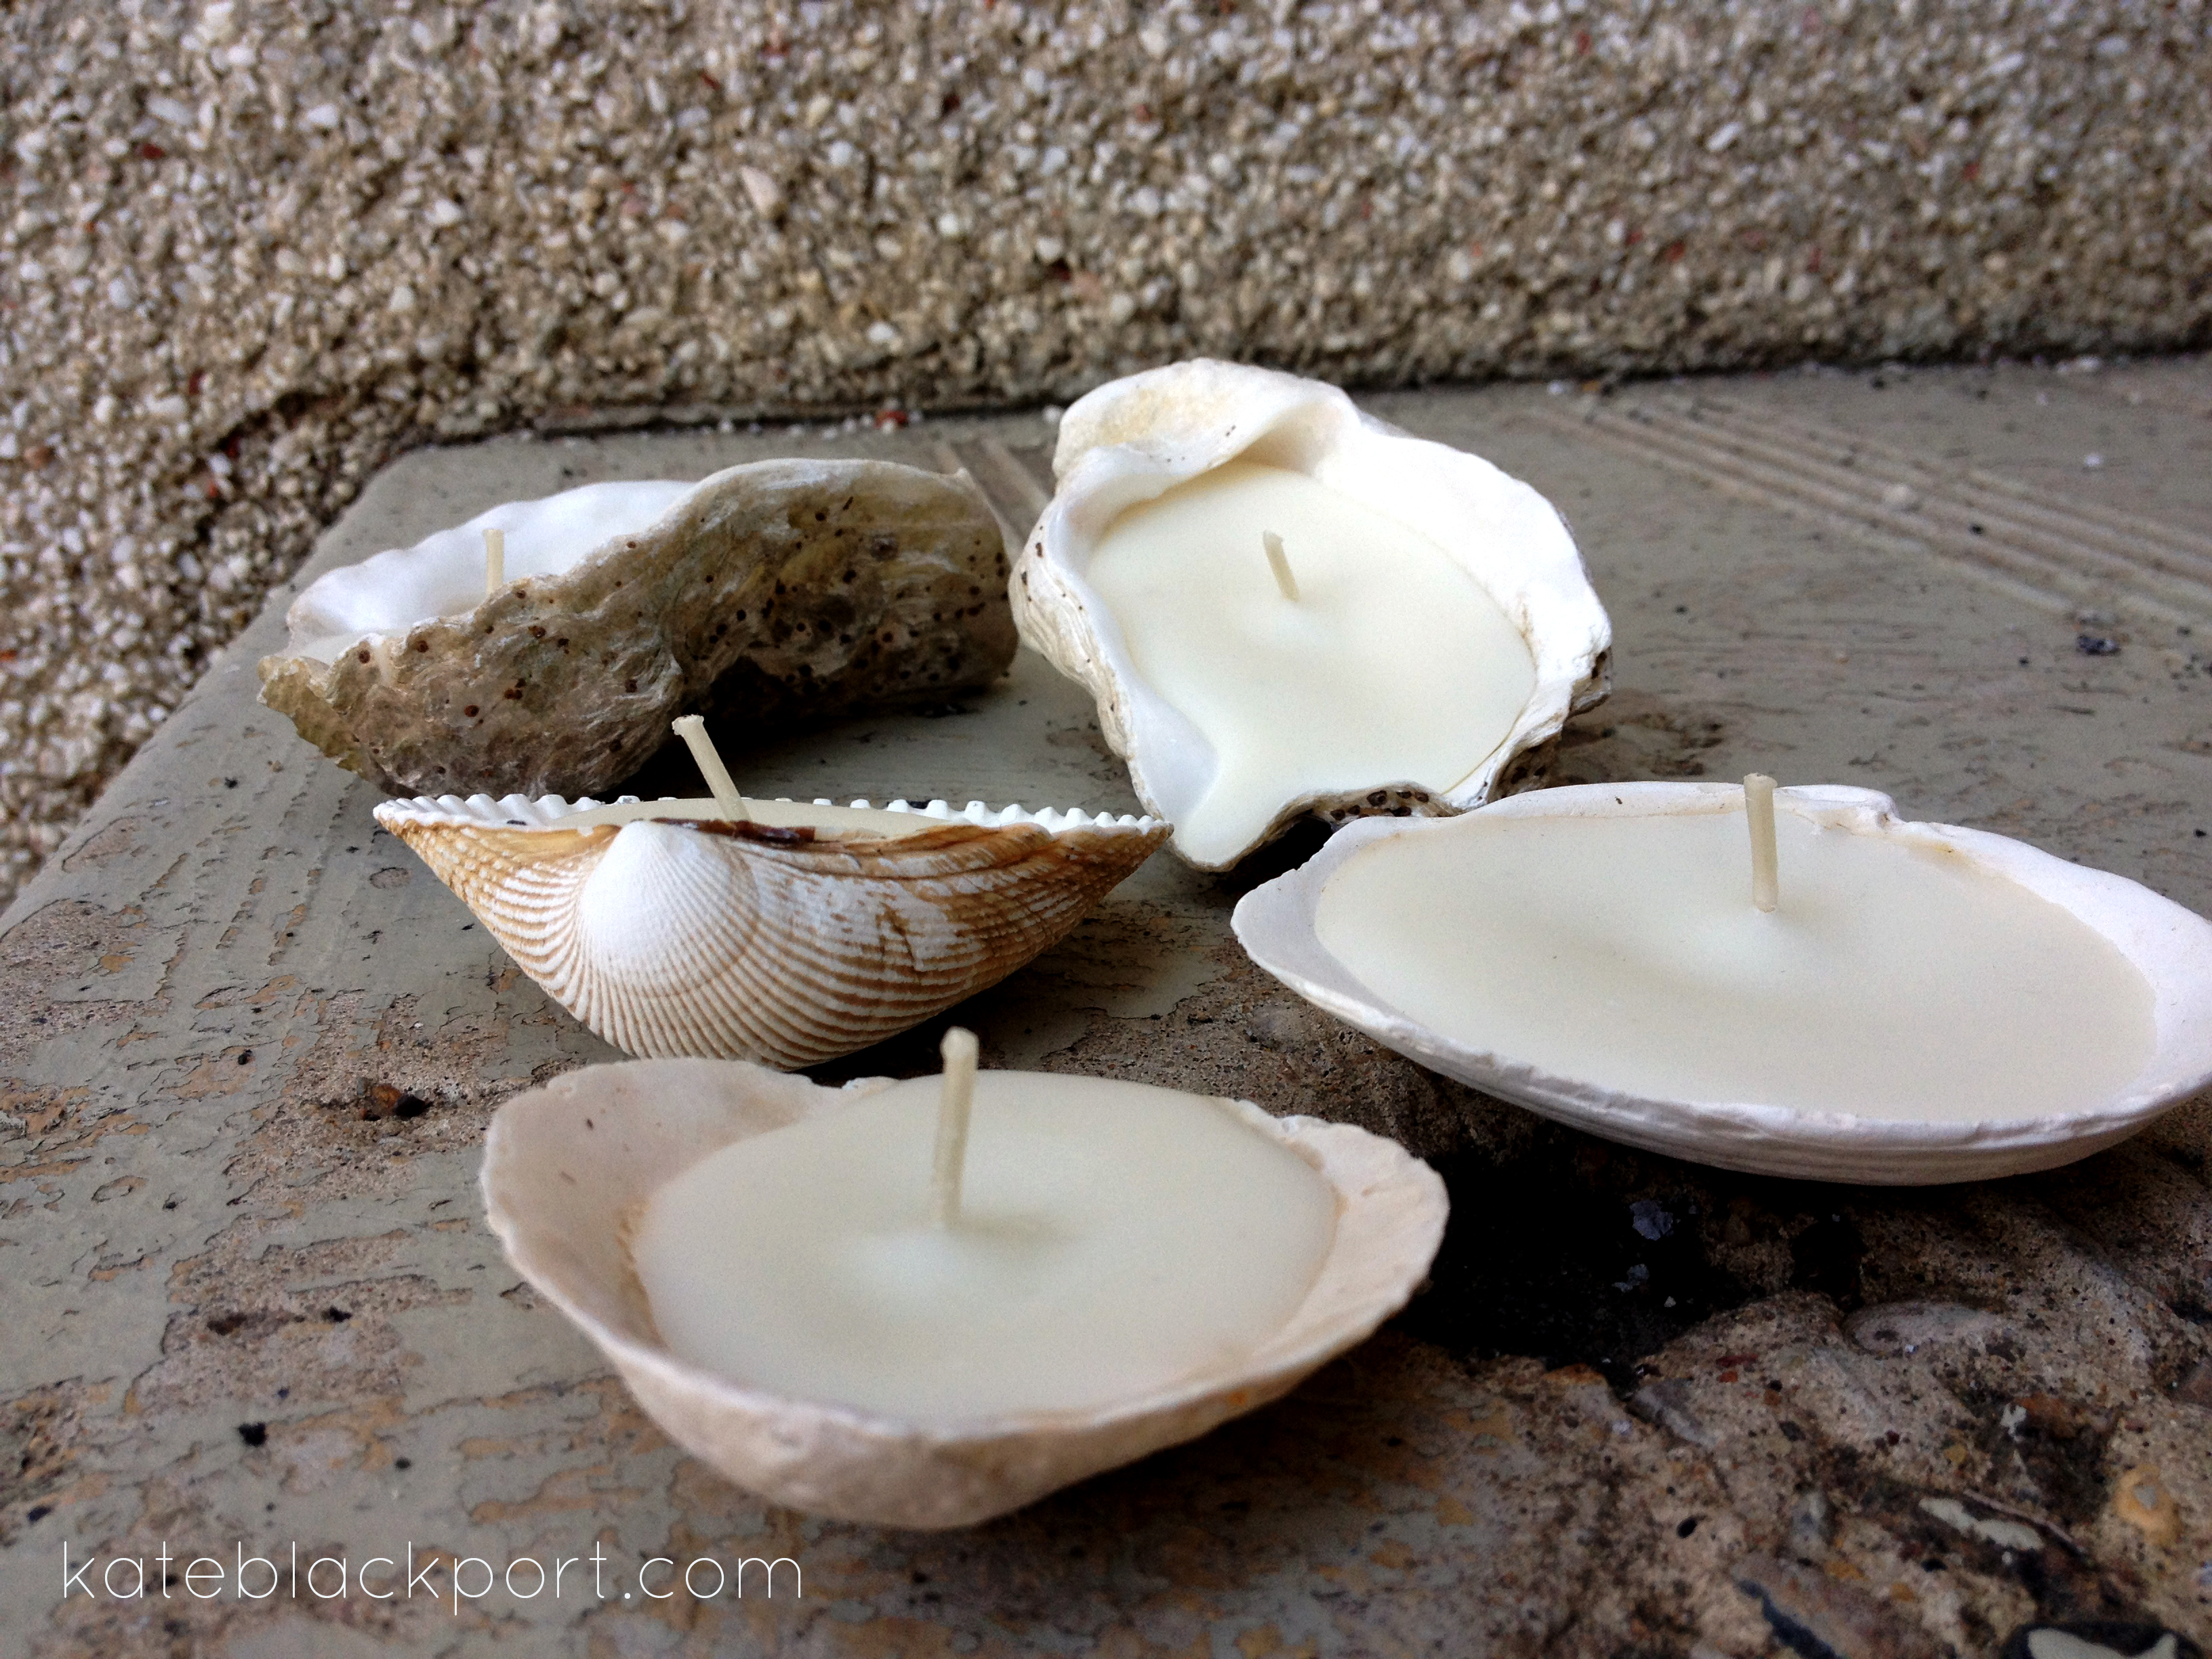
I would suggest using sticky-tack or something to position the shells so that they don’t tip or spill wax while you are pouring it. You could also make little clay feet for the shell so that it sits upright when you burn it.
A Brief Recap of my Candle-making Tips:
- Cover your work surface in wax paper to prevent mess
- Melt your wax in a yogurt or cottage cheese container that can be thrown out afterwards
- Dip the wick in the wax to stick it to the bottom of your cup
- Use a popsicle stick or pencil to tape the wick in place
- Move the candles as little as possible until they are completely cooled – be patient!
- Careful with coloured wax around clothing, CARPET!, countertops and floors – it WILL stain! (If you do spill, removed it immediately after it hardens)
- Don’t melt wax in a paper cup in the microwave as the wax will melt through the cup
- Use sticky-tack or clay to position your container (if it doesn’t have a flat bottom) – you could put it underneath your wax paper
- Melt down the ends of finished candles to make new ones! – You could layer different colours or scents
Comment below and show me the candles you’ve made or tag me @kateelin on Instagram!
Follow Me!
Facebook | Twitter | Pinterest | Instagram | Bloglovin’ | Google+ | Etsy