Kate Blackport

Design • Sewing • Repair

February 5, 2014
by admin
1 Comment

Get Your Blog Organized in 2014 – Free Blog Calendar Template

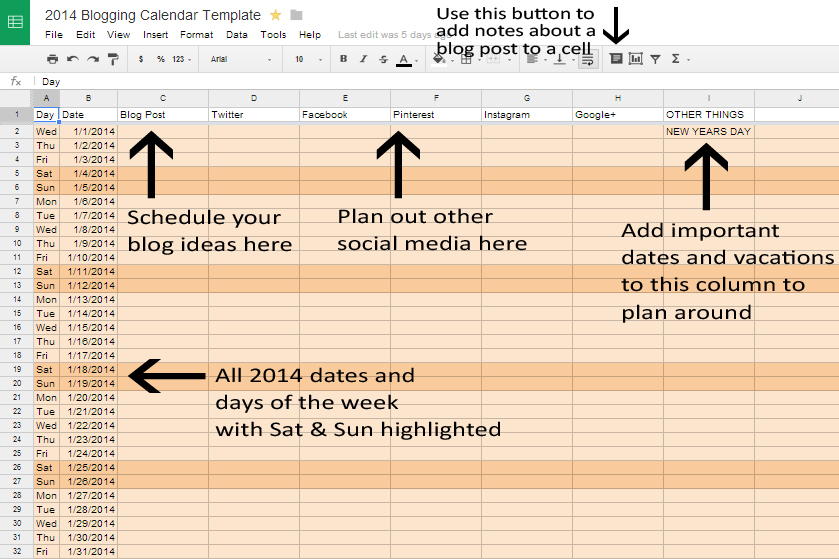
In 2014, use this Google Spreadsheet to get organized and plan our your blogging year!
I created this spreadsheet after reading, How to Plan Out One Year of Blog Post Ideas from themommymes.com.
I took her ideas and applied it to my own spreadsheet to plan out my blog.
I thought before I started plugging everything in, I’d share it with you so you can get your blogging year organized too!
I added the days, dates and a few key holidays to the calendar and different columns for Blog post, facebook, twitter, etc which you can easily change to fit your needs.
I also added a different colour to each month and made the weekends highlighted so it’s easy to see each week.


You can find the spreadsheet Here! Copy it and use it as you please!
I’d love to hear how you’ve made use of this template! What have you added or subtracted to make it work for you?

Happy Blogging!
Kate


Follow Me!
Facebook | Twitter | Pinterest | Instagram | Bloglovin’ | Google+ | Etsy

February 3, 2014
by admin
0 comments

Mixtape Mondays – Love Songs

Mixtape Mondays is a blog series I’m starting that is made up of playlists. Twice a month (or sometimes THREE TIMES!) I will make a playlist based on a certain theme of music that I love and want to share with you. It will be a mix of new music and classics, and I’m sorry if some lists are heavy on the 80s (As this one might be). I love the 80s.
For this week’s Mixtape Monday, I’m focusing on Love Songs since Valentines Day is coming up. And also because Mr. Lee and I celebrated being together for FOUR YEARS yesterday! We went to Ripley’s Aquarium and had supper at the CN Tower in case you were wondering.

I apologize that all of the songs included in this list aren’t happy love songs, but actually, no. I won’t apologize. Sad love songs are often better.
*Disclaimer! I don’t consider myself a music journalist! I am a music lover and I love creating playlists and sharing them with people! My words and descriptions of these songs might not be the most eloquent or critical, I just want to tell you why I love them and sometimes I might not have much of a reason!*


You can find the playlist on 8tracks.com or I have also made a playlist on youtube.com.

1. INXS – Never Tear Us Apart
The first song on my Love Songs Playlist is INXS, Never Tear Us Apart (sorry! 80s!). This has been one of my favorite songs for years and years and I want to dance to a string quartet rendition of it at my wedding. (Not really… well maybe)

2. Hawksley Workman – We’ll Make Time
I love songs with too many lyrics, probably mostly for the challenge of learning them.
We’ll Make Time is a perfect love song for new lovers.

3. Mariah Carey – Always Be My Baby
Sorry, I had to. Since I gave in to the idea that it is ok to like cheesy pop music, I have loved Mariah. Another artist who’s songs often don’t properly showcase her voice (you’ve probably heard my rants complaining about her melodies of one or two notes when she has a FIVE OCTAVE RANGE!), Always Be My Baby nicely displays her talent and 90’s girl-next-door vibe. Love it! One day I listened to this song on repeat for an hour just for the nostalgia-feels.

4. Lykke Li – Will You Still Love Me Tomorrow?
You will soon learn that I love covers. I go seeking new covers on a regular basis, and when one of my favorite bands cover another of my favorite bands, I get really excited. I also really like unexpected covers (as long as they’re good!) Lykke Li does a beautiful job of this song, and I love that it really showcases her voice (where some of her other songs don’t do as good of a job of that).

5. Sarah McLachlan – Icecream
You’re love is better than ice cream. Oh, Sarah, I have loved you as long as I can remember!

6. Devendra Banhart – Baby
Happy cute song.

7. Martha Wainwright – I’ll Be Seeing You
Ooohhh gooorrsshh. This song gives me tingles. Maybe mostly because it’s from the Aviator, one of my favorite movies and soundtracks! Her voice is just so tragic in this song.

8. Crosy, Stills, Nash & Young – Our House
Maybe it’s because I learned this song sung by Sharon, Lois & Bram when I was a little little kid. But it just gives me warm fuzzies.

9. Coldplay – Shiver
From the moment I wake to the moment I sleep, I’ll be there by your side, just you try and stop me. (It’s not creepy is it?)

10. Adele – Lovesong (The Cure cover)
Another of my favorite covers. I just love her version of this song. It’s just lovely.

So, I don’t go overboard I’m going to keep my playlists to ten songs and maybe in the future I will include more. We’ll see. Also, because I am putting the playlists on 8tracks, you can only use two songs by the same artist per playlist so I will try to keep them all different.

Listen to this weeks Mixtape Mondays on 8tracks.com or youtube.com

Did you enjoy this Mixtape Monday? What are your favorite love songs?

P.S. Did you check out my post from last week? About Thinking Positive? Do you have any tricks you use to stay positive?


Follow Me!
Facebook | Twitter | Pinterest | Instagram | Bloglovin’ | Google+ | Etsy

January 19, 2014
by admin
2 Comments

A New Year – For Positive Thoughts!

Happy New Year! (Even though it’s almost February!)
I hope everyone survived the holiday season and are excited for the new year!
This year I am working on positive thinking. I often find myself dwelling too much on the negative and it is not helping anyone, especially not me.
So, my biggest new years resolution is to focus on the POSITIVE! Living in a time when so much is possible, the opportunities are limitless.
Often we Generation-Y kids think we are special and can do anything, but we don’t realize that it takes a bit of work.
I read an article, Why Generation-Y Yuppies Are Unhappy (Thanks Bri & Nicole for pointing this one out!) and I think it makes a lot of sense, especially the part about comparing ourselves to others via Facebook. A friend of mine was discussing this with me the other day and she said if you are feeling inadequate or put down by what you see on Facebook, it is your own self who is making you feel that way. People don’t post things on facebook to make you feel bad. You are coming up with those thoughts on your own. You are comparing yourself to the mask that others are portraying. So, GET OFF FACEBOOK.
Go outside! Have a real human interaction! Take your own happy looking photos and post them!

Making yourself feel that way isn’t worth your time. Everyone gets lost in facebook self-pity sometime. So, click here and bookmark it. Then if you find yourself bouncing from one Facebook profile of a high school classmate to another, go to that page and look at kittens instead. Then move on with your life.

Jealously is your own problem. If you wish you were doing something someone else was, go out and do it! What is stopping you? The multiple tabs you have open of Facebook and Pinterest.

Now to divert my angry rant back towards the positive.
I have been trying to reinforce positive thoughts. I have been collecting my favorite quotes for a while on Pinterest, and a lot of them lately have been motivational. Some of them have been said by real people, some were said by tv characters. But what difference does it make?
My favorite lately is this one:


I’m not sure the source because it links to weheartit.com and then to the “fitness” tag on tumblr. And reverse image search just takes me to more tumblr pages. Anyone know the source?


Another quote I’m enjoying is this one;

“Just say yes, and you’ll figure it out afterward” – Tina Fey

I often find myself not inviting a friend over because I don’t know what to serve them, or not agreeing to go to an event because I’m not sure how I’ll get there. JUST SAY YES and figure it out! It’s not that hard and you’ll regret not doing it more than you will great having to figure it out.

So, to conclude this. When you wake up in the morning, try to reflect on the positive things. Maybe it’s the new friend you made yesterday, or the sun shining through your window. Don’t reflect on the angry driver who honked at you yesterday, or the moody sales clerk.
Get up and have a good day because you have decided it will be a good day and don’t let someone else decide that.

Stay tuned to my site here, because next week I’m starting a Mixtape Mondays series. I’ll be posting a mixtape every second Monday or so.
Here’s a song to tide you over; Buzzcut Season by Lorde.


P.S. Lee wrote a post over on his blog about the Steam Dev Days in Seattle this month and his experience with a Valve’s VR demo. Check it out if you’re interested!


Follow Me!
Facebook | Twitter | Pinterest | Instagram | Bloglovin’ | Google+ | Etsy

DIY Teacup Candles Tutorial - kateblackport.com

November 20, 2013
by admin
0 comments

DIY Teacup Candles (And Cordial Glass Candles!)

This is very overdue, but I thought I’d write about how I made my teacup candles.


If you’d like to skip below and read a quick recap of my tips for making candles click here.


I found the teacups at Value Village (also later got a box of a bunch of gorgeous teacups from Kijiji for $5) and picked up some cute cordial glasses as well. You could use any found or recycled container to make your candle in – doesn’t have to be a teacup! Comment below if you have any interesting ideas of things to make candles in!
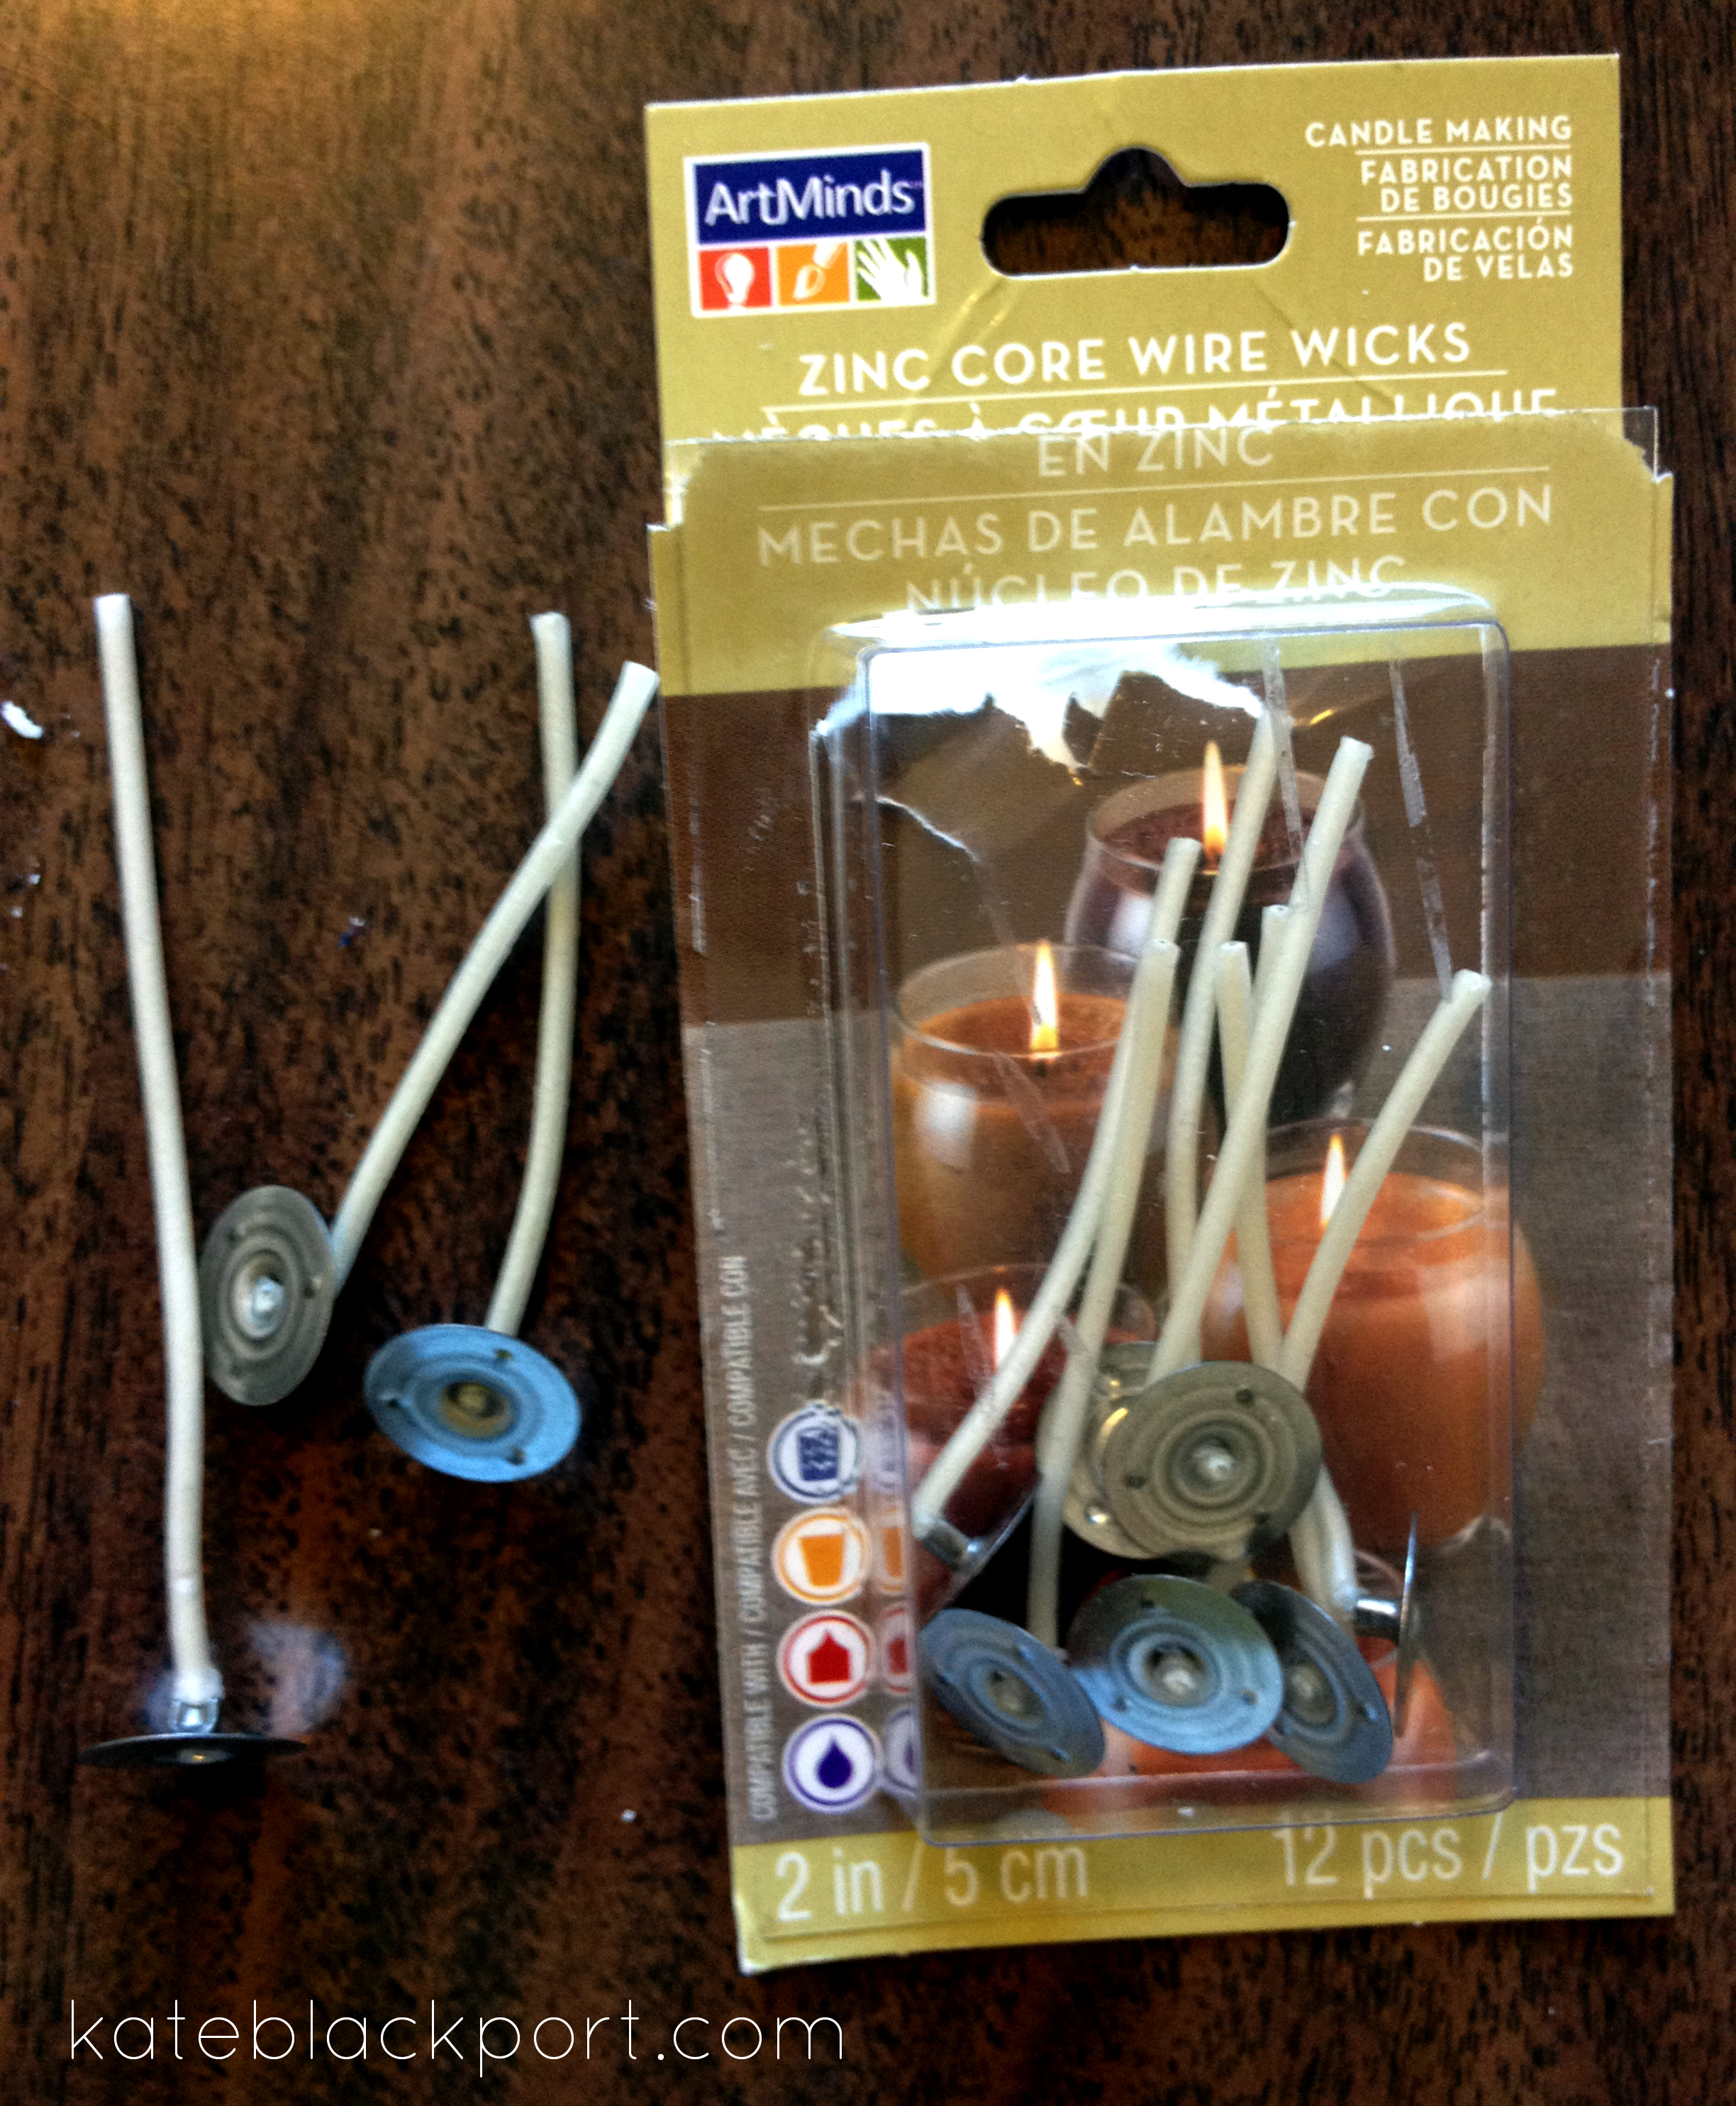
The wicks, wax and wax dye I got at Michaels.
I don’t have a picture of the box of wax, but it was one solid chunk of wax in a plastic container.
I just cut chunks off and melted them as I needed to. I might suggest buying wax pellets or shavings as they are a little less hassle and easier to measure what you want to use.
The size of wicks you will need will depend on the size of the teacups or containers you are using.
If you are not sure what to buy, buy longer ones and you can cut them to size.


You could also make your own wicks (sorry for the poor image)


I first covered my counter with wax paper so I didn’t get wax everywhere.
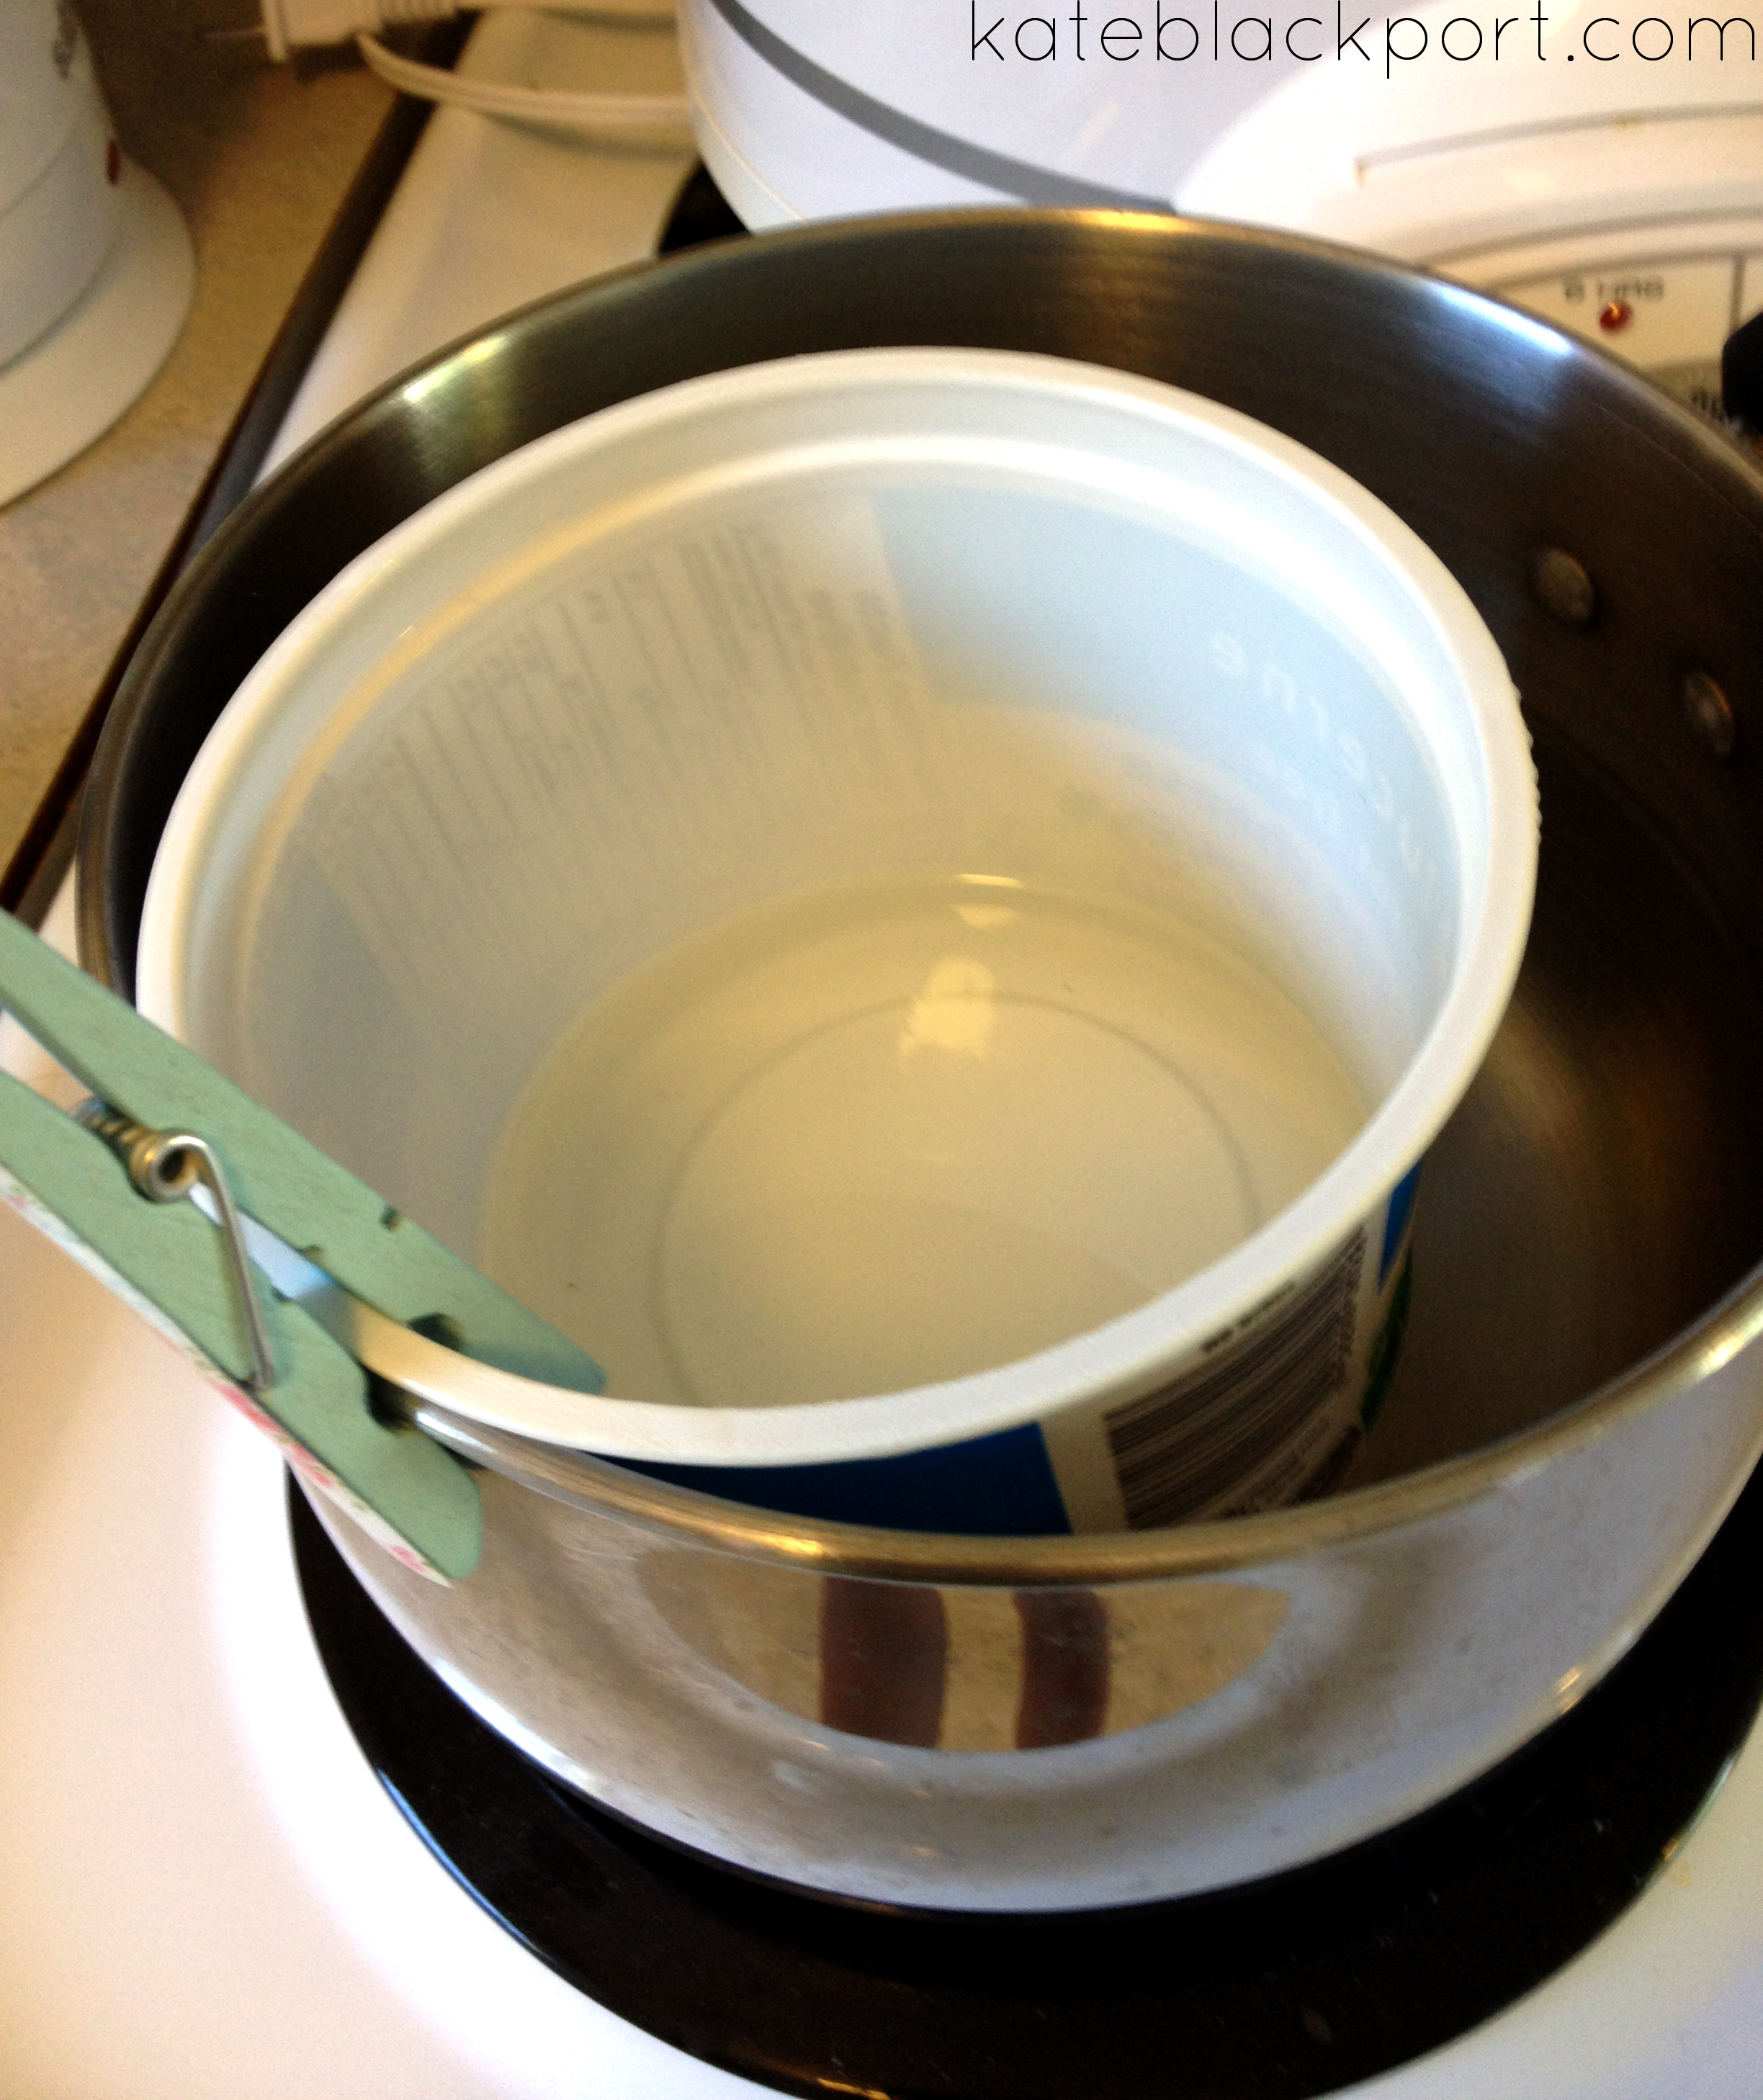
I melted my wax inside an old yogurt container inside a pot of water on the stove. I used a clothespin to hold the container upright and just enough water so that it could simmer and melt the wax, but not too much that it boiled over or got into the wax.


You could also use a wax warmer, but I wouldn’t try that combined with a yogurt container… not sure if it would melt or not.
The yogurt container works great because it doesn’t hold the heat (like a metal bowl would) and you can throw it out when you’re done and not worry about cleaning it.

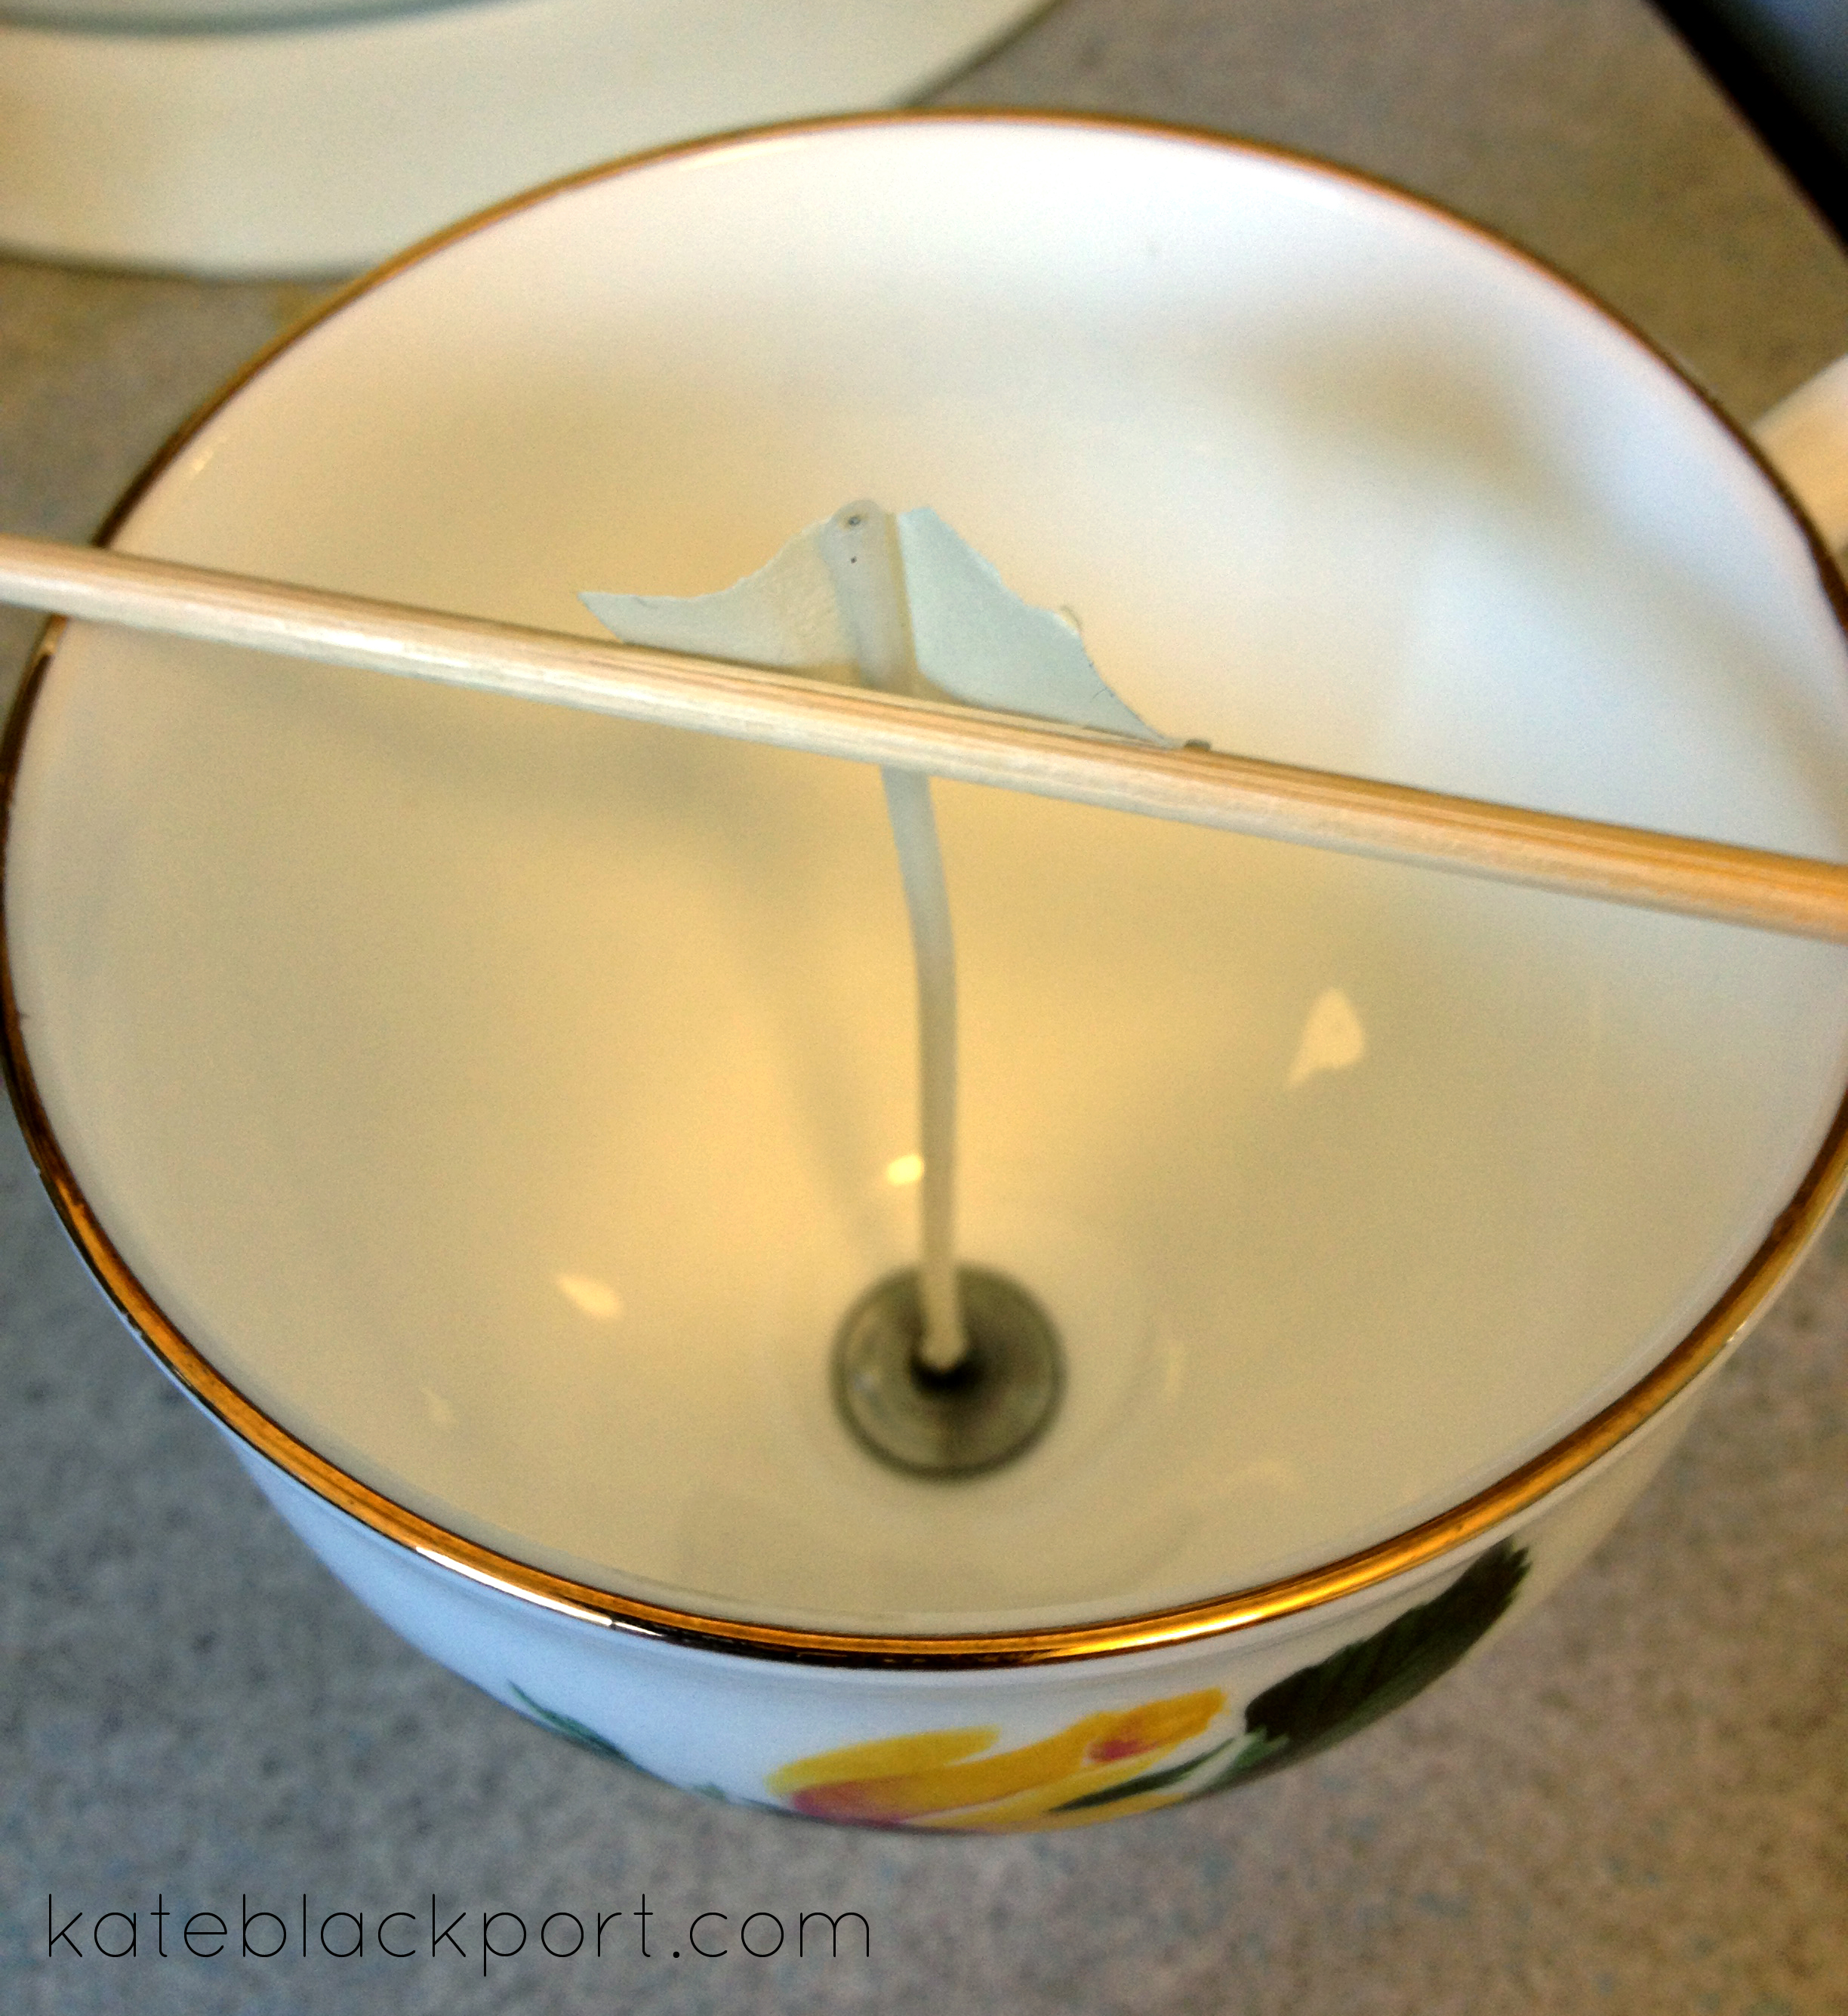
When the wax was melted (or almost melted) I dipped the metal end of the wick into the wax and then pressed it to the bottom of my teacup to keep it in place.
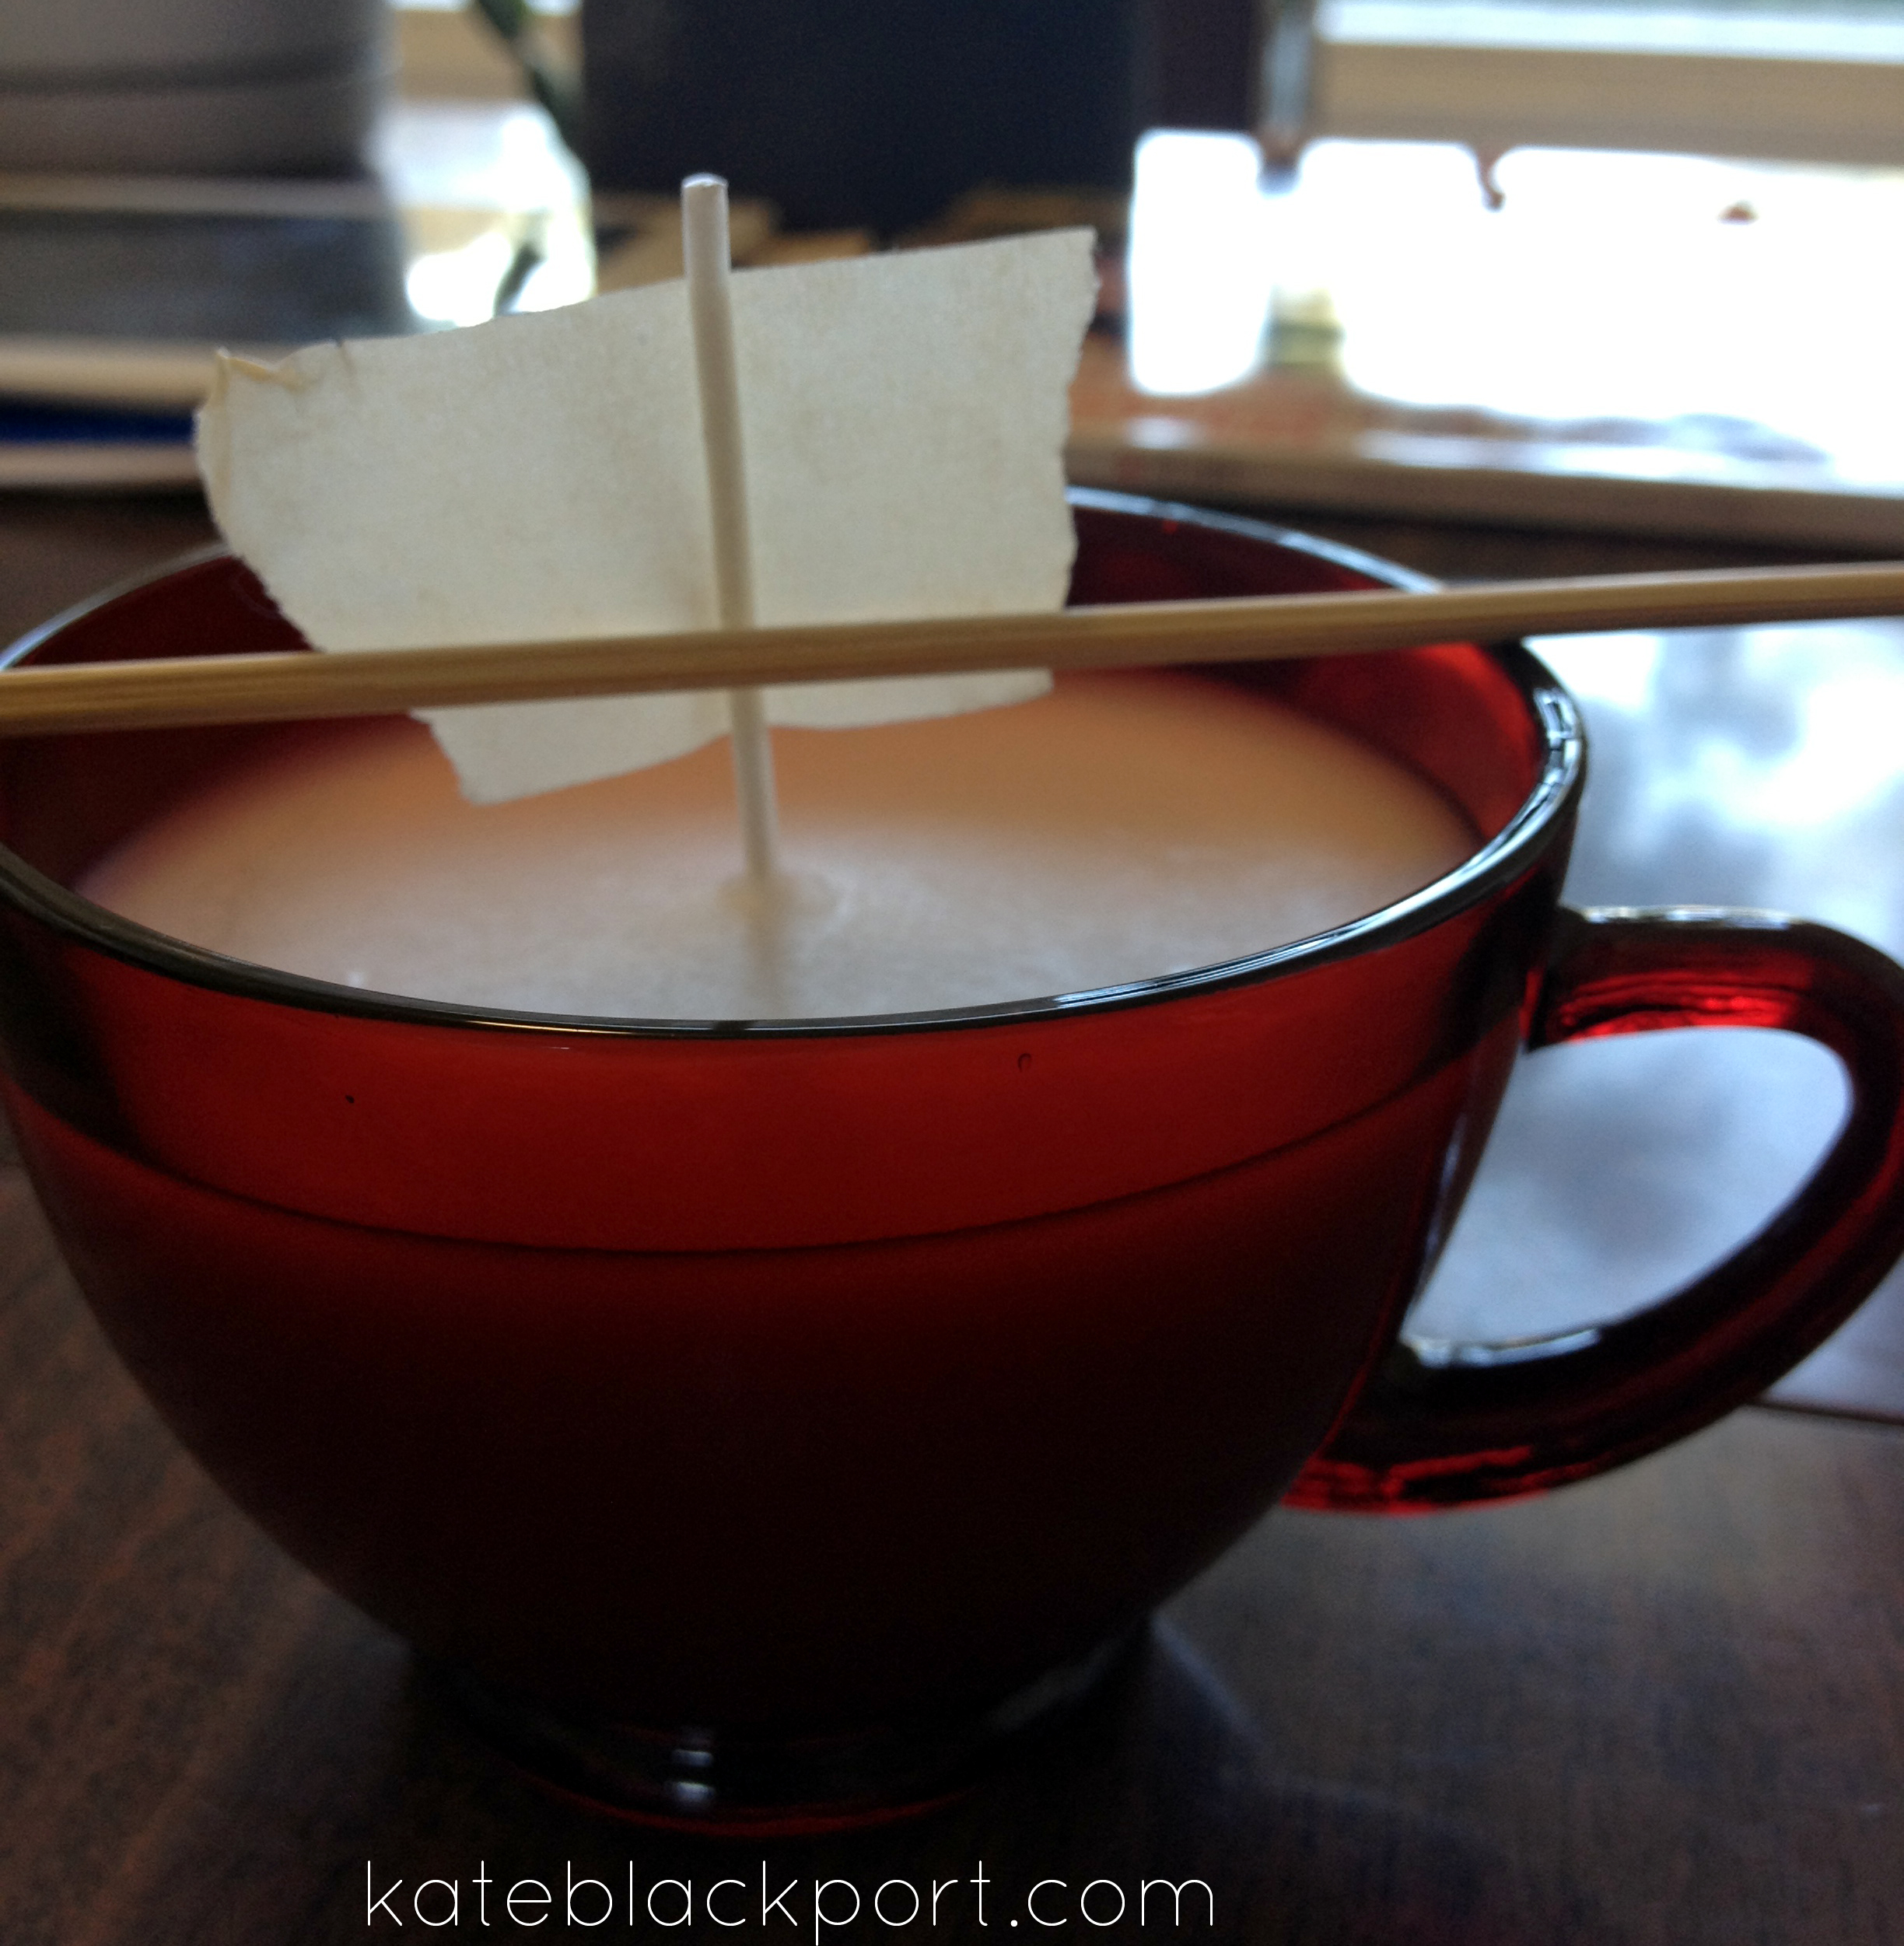
Then I used a skewer (you could use a popsicle stick or pencil) and taped the wick to it to keep it upright. (See below).


Then I simply poured the wax into the cup until it was as full as I wanted.
I tried not to move the candles until they were cooled so they wouldn’t get wrecked.


I removed the skewer and trimmed the wick to about 3/4″.

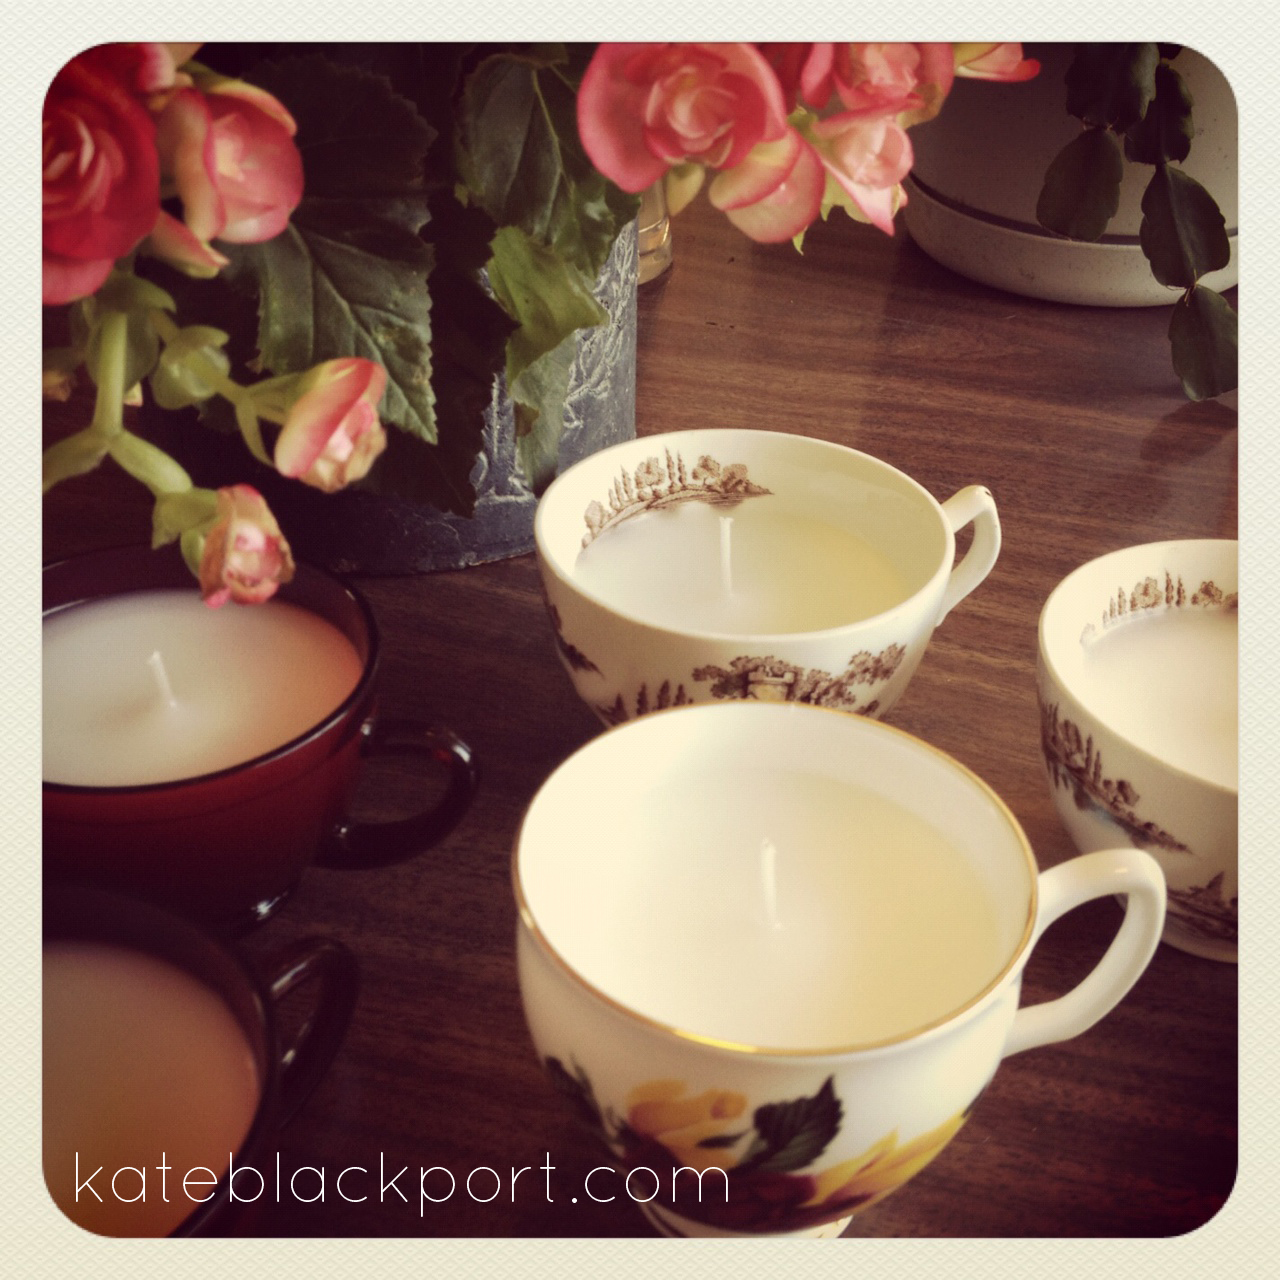
The finished product!

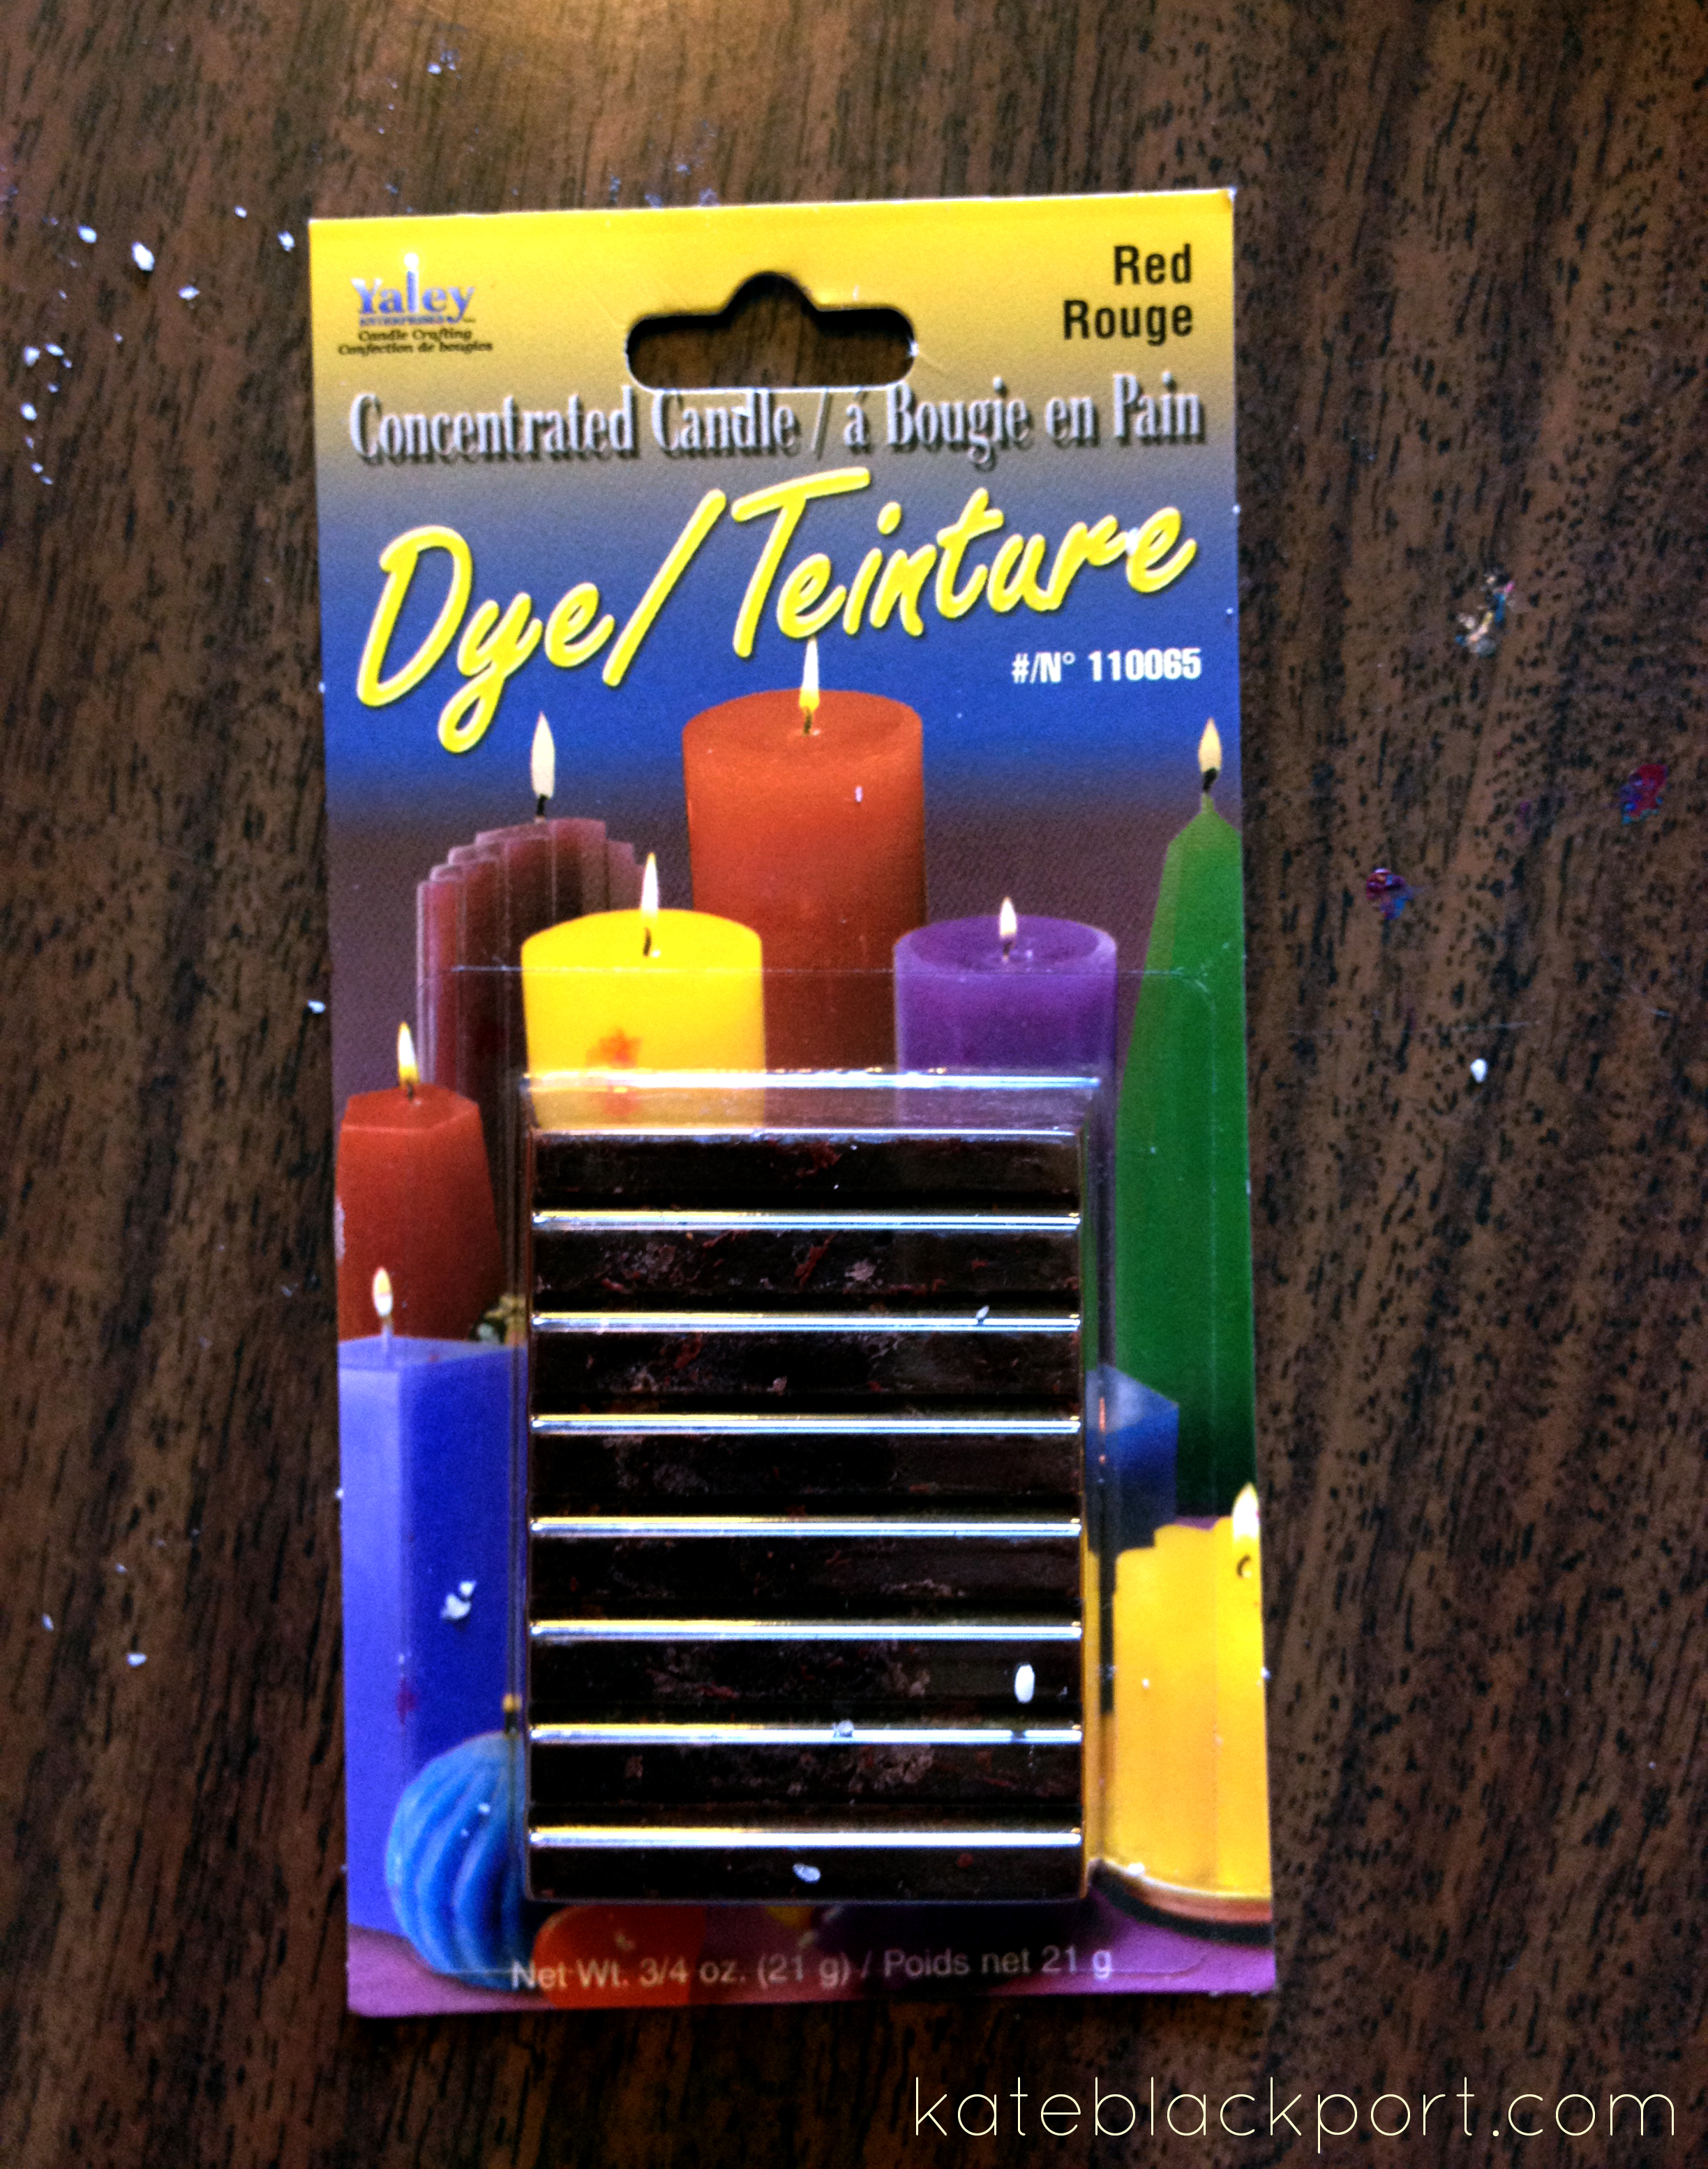
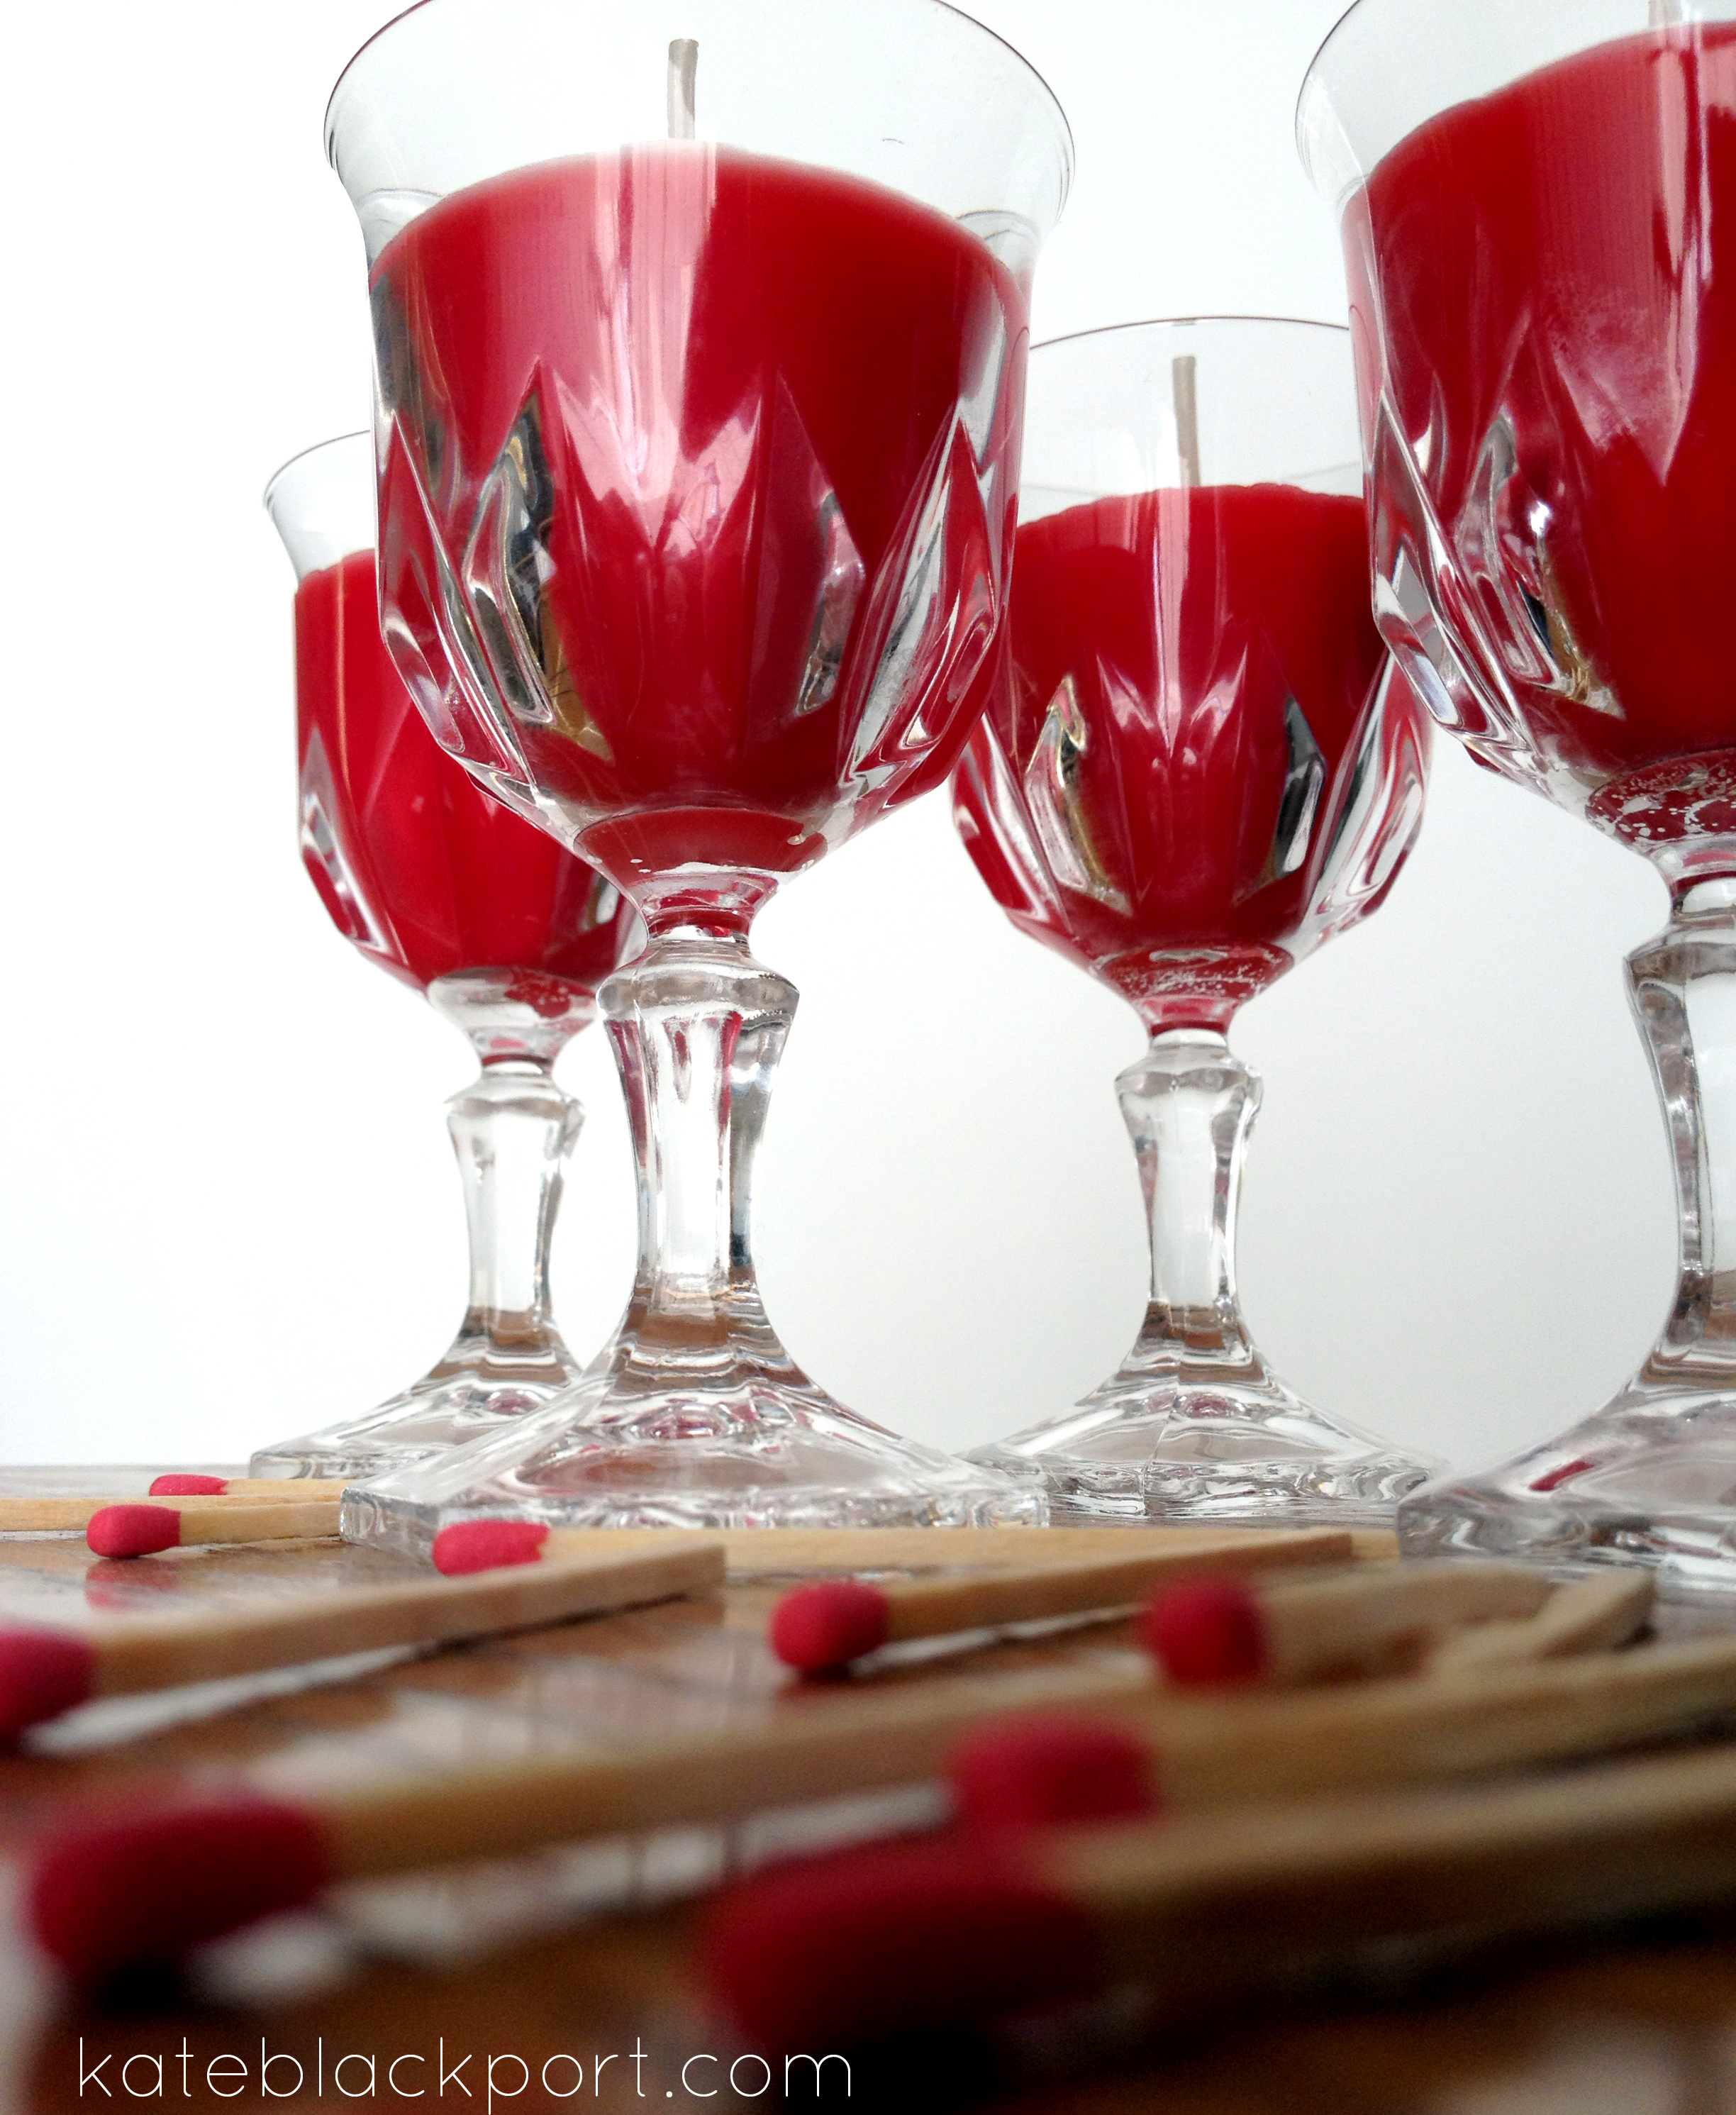
For the coridal glasses I bought a wax dye. And added a bit to my white wax to make the candles look like mini wine glasses.


It didn’t take much of the wax dye to make the colour turn out like this:


Candle making like this is sooo easy! If you don’t have wax or don’t want to go out and buy it, you could use the ends of old candles to make a new one. Or you could also use wax crayons… I somewhat tried that and ran into some obstacles, but I want to try it again. I tried making mine by melting the wax in the microwave in paper cups. Don’t do this, the wax melts through the paper cup. I think I’m going to try again, but go back to my yogurt cup method.

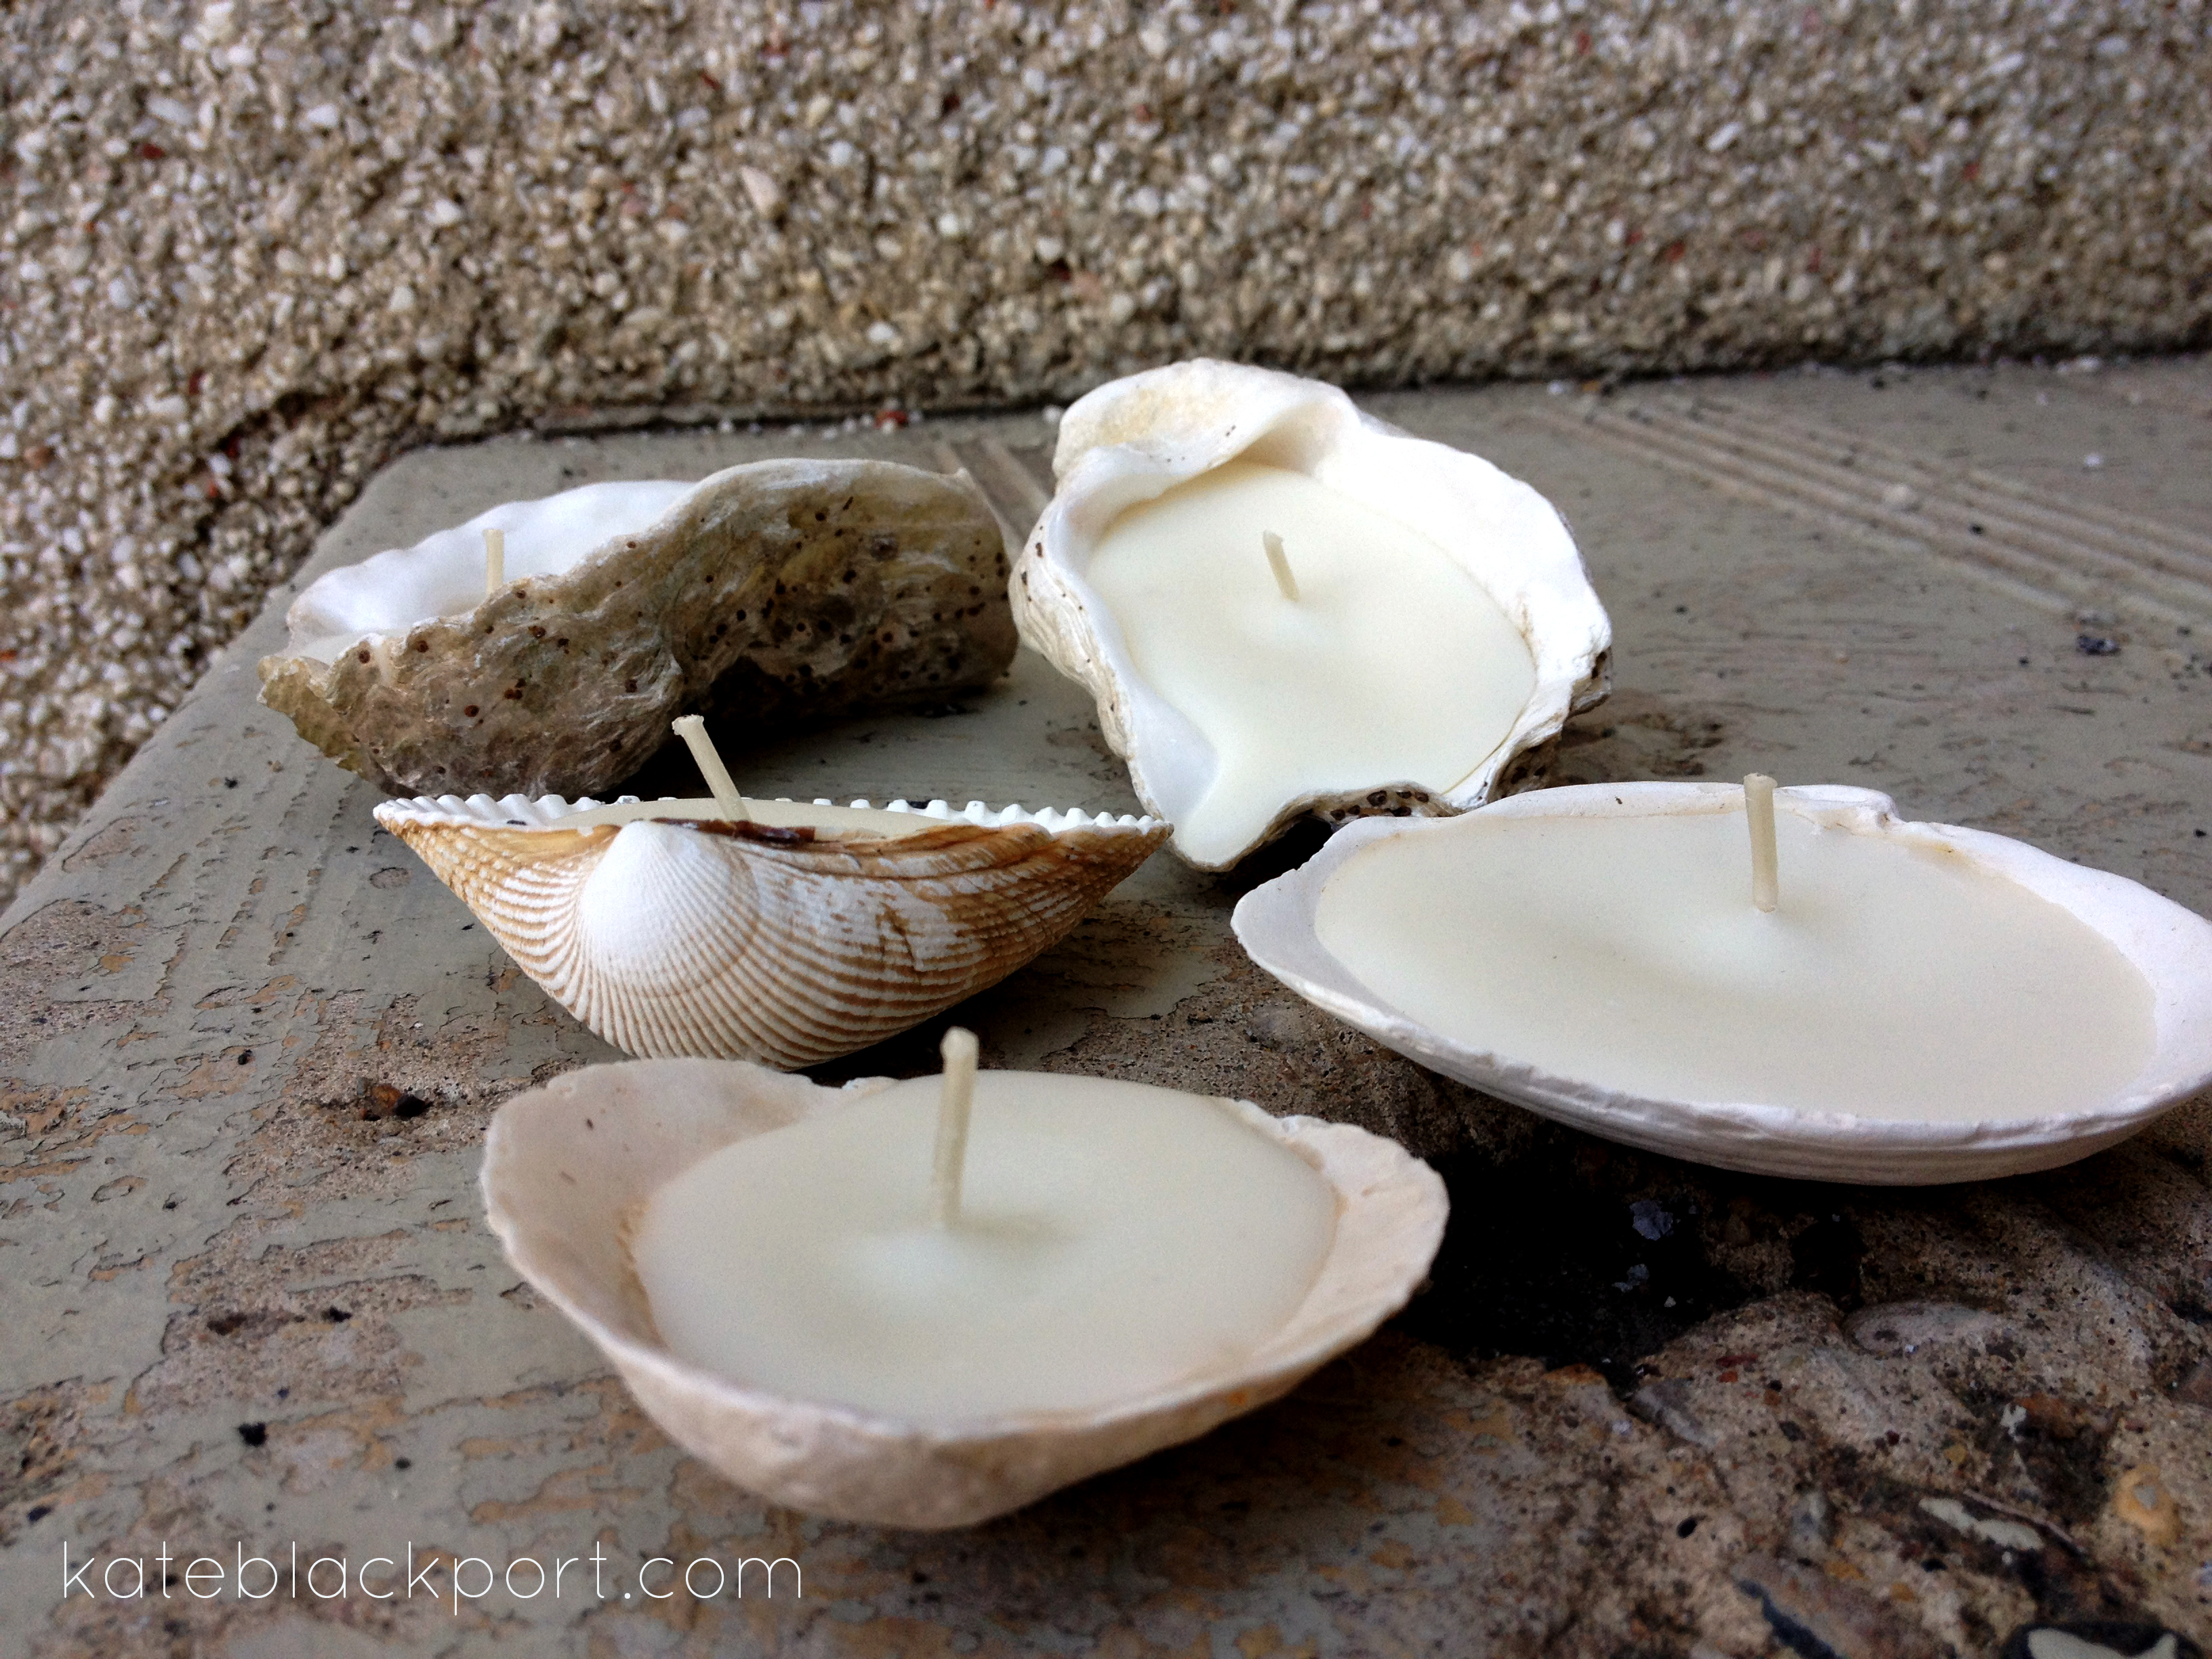
This summer I also made some seashell candles from shells I brought back from Denman Island in BC and the ends of some citronella candles I had.


I would suggest using sticky-tack or something to position the shells so that they don’t tip or spill wax while you are pouring it. You could also make little clay feet for the shell so that it sits upright when you burn it.


A Brief Recap of my Candle-making Tips:

  • Cover your work surface in wax paper to prevent mess
  • Melt your wax in a yogurt or cottage cheese container that can be thrown out afterwards
  • Dip the wick in the wax to stick it to the bottom of your cup
  • Use a popsicle stick or pencil to tape the wick in place
  • Move the candles as little as possible until they are completely cooled – be patient!
  • Careful with coloured wax around clothing, CARPET!, countertops and floors – it WILL stain! (If you do spill, removed it immediately after it hardens)
  • Don’t melt wax in a paper cup in the microwave as the wax will melt through the cup
  • Use sticky-tack or clay to position your container (if it doesn’t have a flat bottom) – you could put it underneath your wax paper
  • Melt down the ends of finished candles to make new ones! – You could layer different colours or scents

Comment below and show me the candles you’ve made or tag me @kateelin on Instagram!


Follow Me!
Facebook | Twitter | Pinterest | Instagram | Bloglovin’ | Google+ | Etsy

10,000 Pins! Why I Love Pinterest

November 19, 2013
by admin
0 comments

10,000 Pins! Why I Love Pinterest

So, I’ve reached 10,000 pins on Pinterest.
This is a few years worth of pinning, don’t worry.
But I probably do pin a lot more than most people.
Thought I’d write a little bit about why I love Pinterest and how I use it.

Reasons Why I Love Pinterest:
1. Images! I am definitely a visual learner and imagery always catches my attention before anything else, except maybe music. One thing I really dislike about other social media platforms (twitter, google+, reddit) is that they are not eye-pleasing. It doesn’t really matter what people pin, Pinterest always looks so lovely.
Before Pinterest I used to spend my spare time (or time I was supposed to be using to study) browsing Flickr. I would refresh and refresh their Explore 7-Days page over and over again. My flickr favorites is still a place I go back to for inspiration and I wish I still browsed flickr as much as I used to (but it’s not iPad friendly like Pinterest is!) – I just noticed that I have over 10,000 flickr favorites too – though I’ve been collecting those since 2005.

2. It can fit your needs! On Pinterest, you can decide who you follow or what you search for. A while back I was sort of getting sick of the general Pinterest (pins from everyone on Pinterest) because honestly a lot of them weren’t relevant to me (such as thinspiration photos and the same melty crayon craft over and over). But now that the website layout has changed and the homepage is just who you follow, I don’t see as much of that stuff anymore. Another thing that is great is that sometimes I follow people who post a lot of things I like and then some things I don’t. I can choose to unfollow certain boards of theirs (the Thinspiration and Jesus ones) and still see the stuff they post that I enjoy! Can’t do that on Facebook or Twitter, it’s all or nothin!

3. Private boards! You might think that having a private pinterest board is pointless (like a private twitter account), but there are a few ways you can use private boards. I use my private boards to pin things I am embarrassed to pin (I have a Wedding Board and occasionally I’ll pin a picture of Jennifer Lawrence that makes me want to go to a gym). I also use them to pin good ideas that I don’t want other people to steal but I don’t want to forget or lose. You can also use private boards to pin gift ideas for people who follow you on Pinterest.

4. I never use Bookmarks! Not since I had Windows XP at least! Now if I bookmark anything, I never look at it again. I just use Pinterest. For recipes, images I like, blogs I follow, books I want to read, movies I want to watch, things I want to make or buy or that just make me laugh.

A few other ways that I use Pinterest are:

Curating! I create boards with a theme or topic in mind – For example – I have a “Comfortable” board that I pin comfy and cozy images on. It’s sort of a way to escape the world you are in. I also made a “In the Summertime” board earlier this year when I had the winter blues. I included images of things I wanted to do once the sun came out and things I wanted to wear, etc.

Recipes and DIY! Pinterest is a great place to find meal and craft inspiration. I have multiple food related boards; Eats, Dessert for Breakfast, How to Make Your Friends Fat, In the Crockpot, Sweet Drinks and Recipes Worth Keeping – where I keep the ones I’ve tried and liked. I also have a few boards I use for saving crafting and DIY ideas and inspiration.

Showing Off Your Tastes! I am sure there are multiple people I follow on Pinterest who I have never met but based on the things they pin, I know we would be friends. Pinterest is a fun way to show people who you are without “liking” Banana Bread and New York on facebook. My 10,000 pins could maybe reveal a bit too much about me, but that’s the age we live in right?

Planning! Pinterest is the best for planning for future events such as WEDDINGS! BABIES! The giant house you will someday buy/build that will have elements of Bilbo’s hobbit hole, the Burrow and of course the closet that leads to Narnia! It’s also great for planning parties, Christmas gifts, home renovations and more!

Well, I think I’ve gushed enough about Pinterest. Tell me what you love (or hate!) about Pinterest!


Find all of my boards on Pinterest here!


Follow Me!
Facebook | Twitter | Pinterest | Instagram | Bloglovin’ | Google+ | Etsy

November 15, 2013
by admin
0 comments

Our Move to Toronto

A little over a month ago, my partner and I moved to Toronto from Saskatoon.
It was quite the adventure for us since we’ve both (basically) lived in Saskatoon our whole lives.

It was a challenge because I didn’t realize how much stuff I had, and I also didn’t really realize that until a couple days before we left.
We sold most of our furniture on Kijiji and gave the rest away. Then packed up everything we weren’t giving to Salvation Army in my Pontiac Vibe and drove to Toronto.


Surprisingly, we actually had room left in the car. And there are a few things we wished we wouldn’t have left behind (my guitar being the main one).

I really regret leaving so much to the last minute. There has been one thing after another that has caused me to think “What the heck happened to that?” I am sure some things got thrown out. The rest is probably at my parents, somewhere in the stuff we brought or in a nook or cranny in my car.

The place we moved into is tiny. It is a fully-furnished short-term rental. No stove. Just a mini fridge.
Though there is a BBQ, which we’ve used a lot.


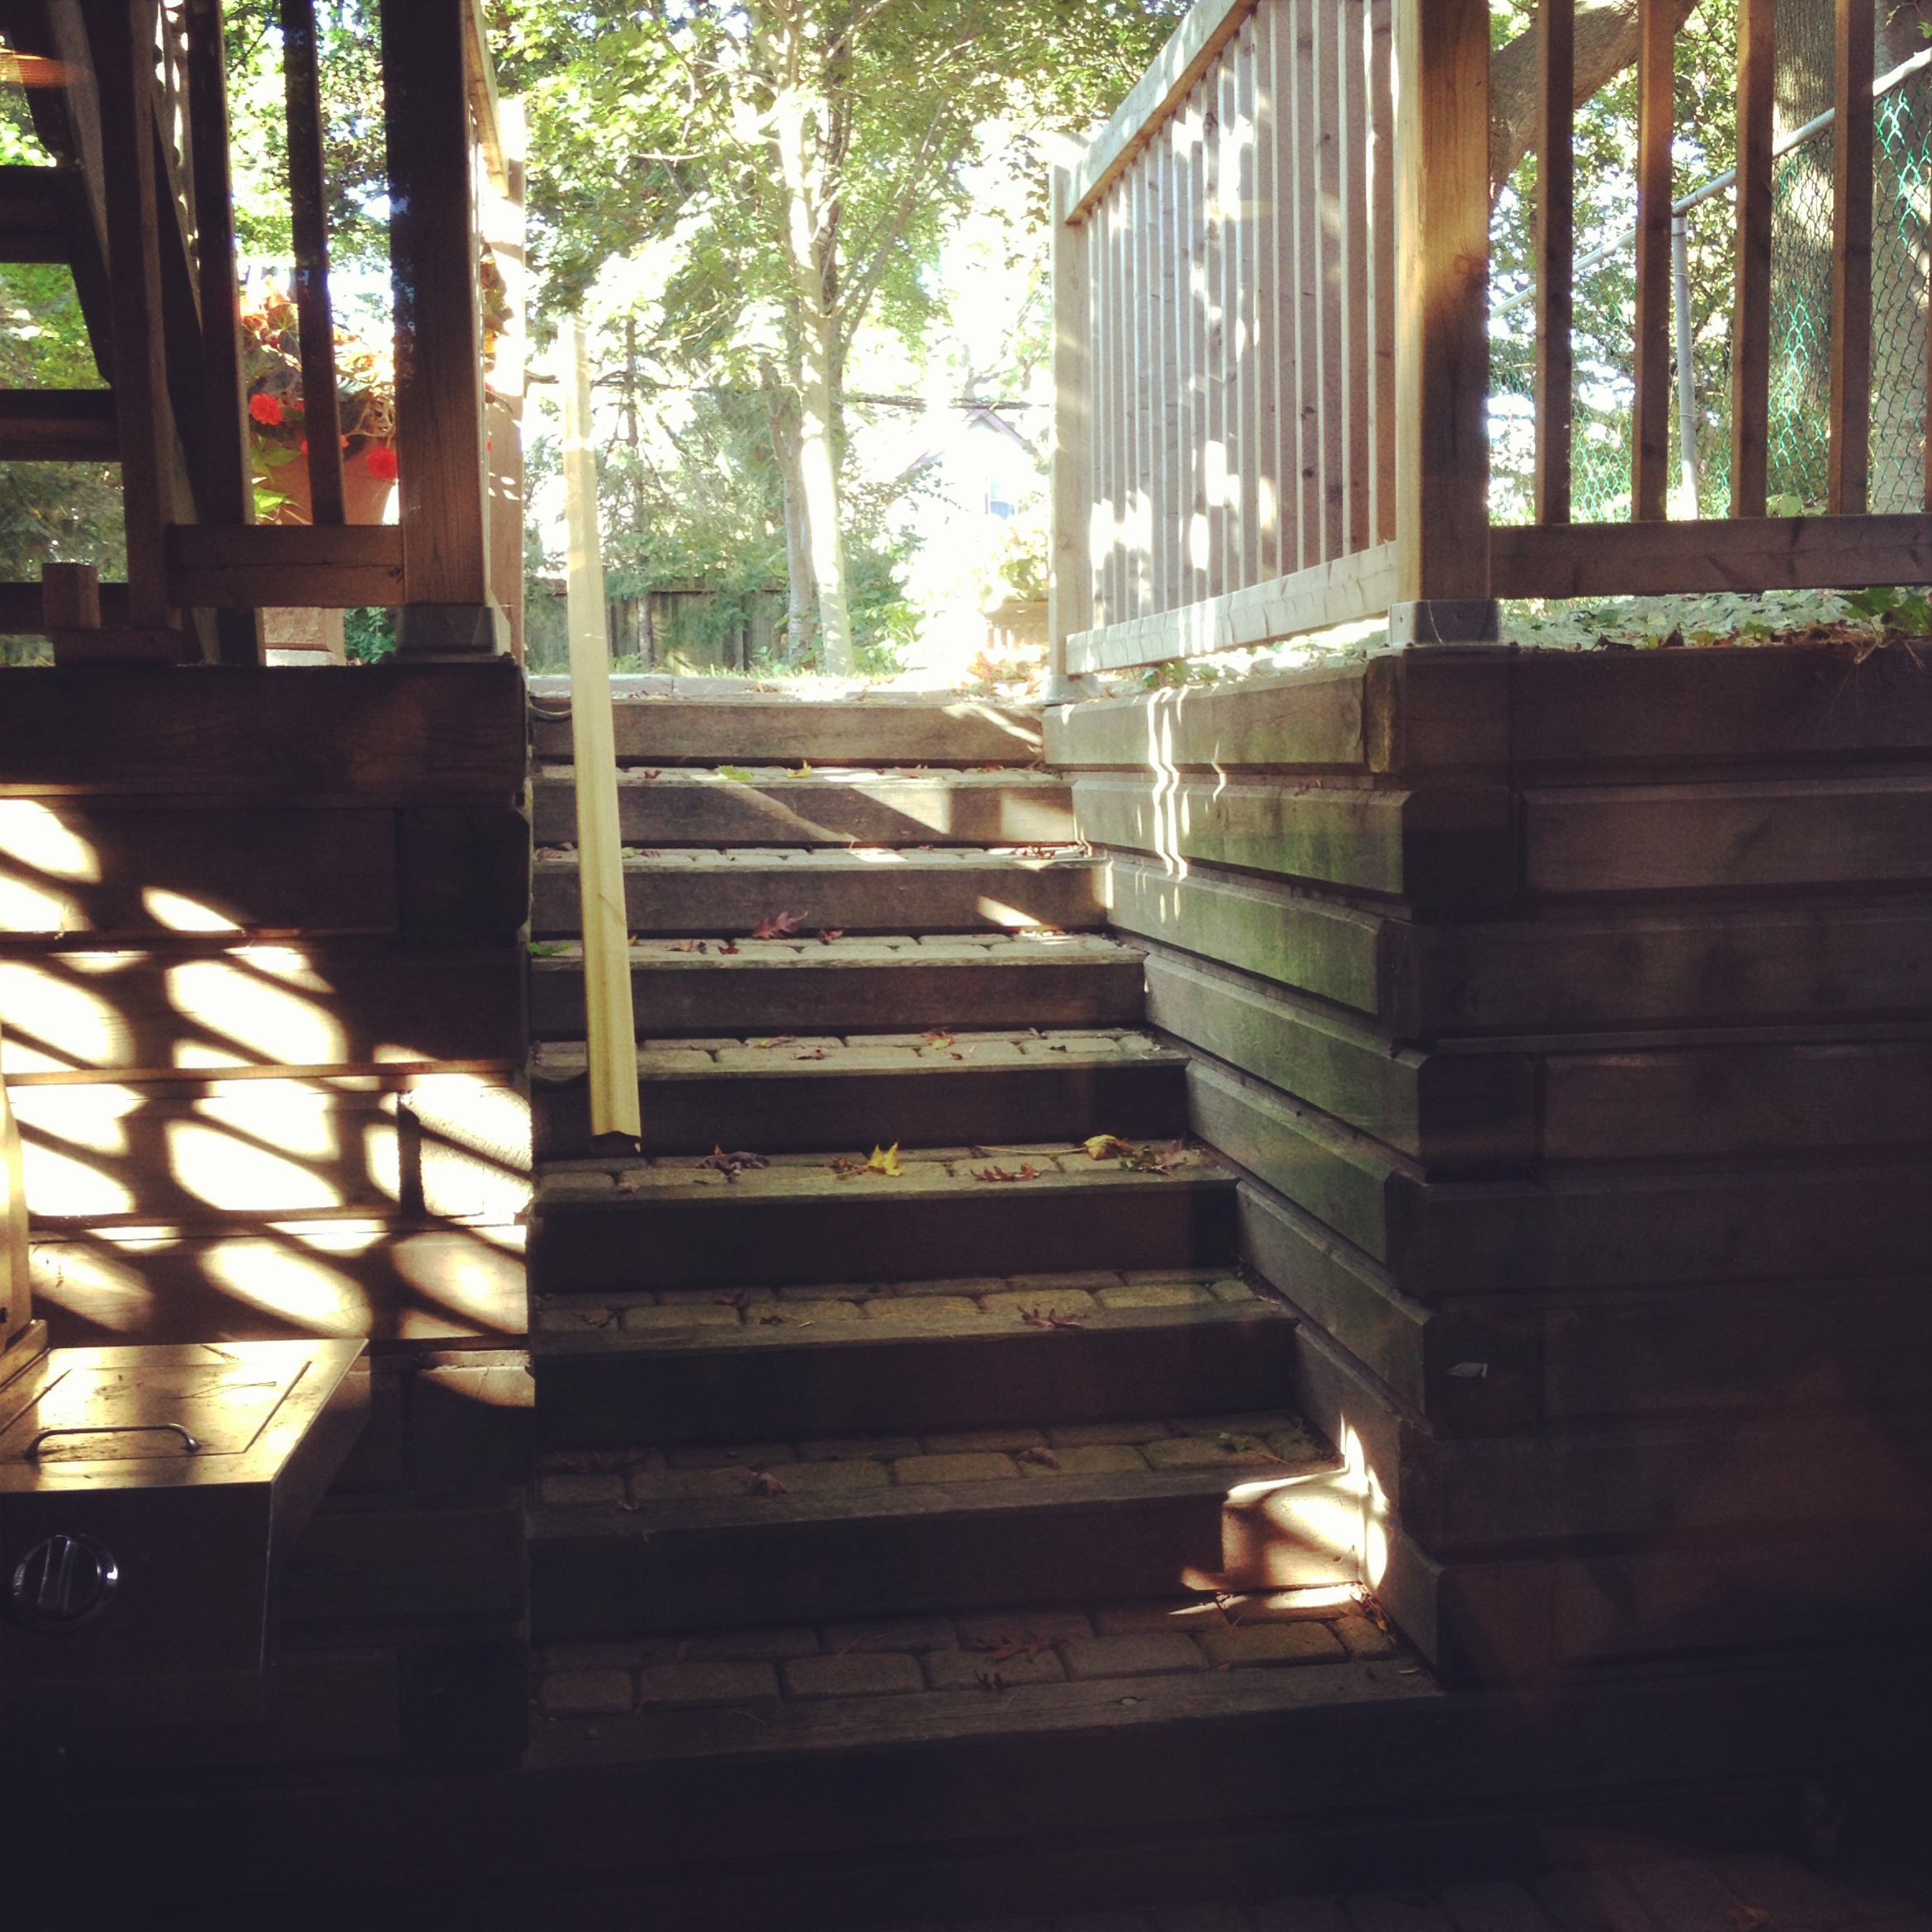
The view from our doors. It is a basement suite, but the sunken entrance lets in some light.

Lee is in love with bbqing! Steak or chicken for dinner most nights!

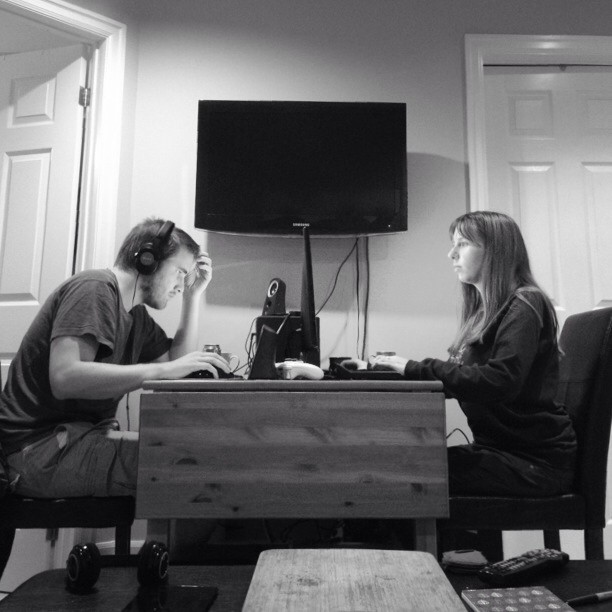
Lee and I were both working from home for the last month, which we had been doing back in Saskatoon but in two separate rooms. Here we had to work face to face at our kitchen table.

We have enjoyed Toronto so far! We got to see Nuit Blanche at the beginning of October. And we went to the Toronto Zoo (on probably the busiest, and most perfect day).
We have made a few friends and hopefully will make some more.


Nuit Blanche 2013 at Nathan Phillip’s Square on October 5th. Was a good way to realize how big of a city we are in. Never seen that many people in one place.

Lee at the Toronto Zoo on Thanksgiving Weekend. The weekend every parent in Toronto took their kids to the zoo.


We were lucky and got to see the elephants on the last weekend they were in Toronto. They have now been moved to California.


Since the place we are living in is tiny and we always intended it to be temporary, we have found a new place to live and will be moving Dec 1st! We are super excited because we are renting a condo in down town Toronto! It will be a first time living in a building (rather than a house) for both of us. This also means we will be needing to buy some furniture, so let that adventure begin!
Getting pretty excited for this new place and mostly excited to have a stove and a freezer again (made way too much Crockpot Quinoa Chicken Chili tonight and don’t know what to do with it!)

I’m getting pretty excited for Christmas, which is strange because I’m usually a grinch. But this year is different since we are actually “going home for Christmas.” I’ve got the greatest gift idea for Lee. Can’t tell you cause he’ll read this, but I’ll post about it when I give it to him.

If anyone has been to Toronto or is from here, we’d love some recommendations for places to go and restaurants to eat at!


Follow me on Instagram @kateelin to see more photos of our move and our adventures in Toronto. (Or just click the images!)


Follow Me!
Facebook | Twitter | Pinterest | Instagram | Bloglovin’ | Google+ | Etsy

A 2013 Christmas Gift Guide - kateblackport.com

October 28, 2013
by admin
0 comments

A Christmas Gift Guide: My Favorite Etsy Shops

I know it may be a little early to think about Christmas, but Halloween is this week and then November starts.
I decided to do a little feature on my favorite Etsy shops and products and combine that with a Christmas Gift Guide.
I have chosen 16 shops (as that fits perfectly into an Etsy Treasury).

‘My Favorite Shops: Great Christmas Gift Ideas’ by KateElin


MASQUERADE Postcard Book // …

$8

8 Cards – Christmas – Round …

$20

Womens knit sweater Olive gr…

$185

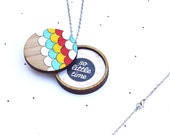
Wooden Photo Locket – Scallo…

$50

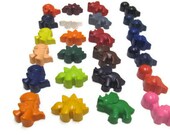
Dinosaur crayons set of 24 -…

$16

minimalistic hand sculped be…

$55

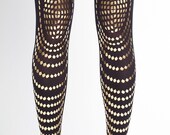
SALE – Hand Printed tights, …

$30

Coconut Owl Soap – Natural, …

$10

MADE TO ORDER blue and gold …

$36

Multicolor Fingerless glove…

$19

Triangles Leather Necklace T…

$42

Forest Hand Drawn Paper Fing…

$5.5

14 X 11 Large Wood Photo Alb…

$225

California Fold Over Clutch …

$65

Princess & the Pea Mens Tee

$40

Dandelion Necklace Resin Bal…

$23

1. Sandra Dieckman’s shop includes such cute prints! And I just loved this postcard book! Thought it would be perfect for a friend who loves snailmail or who just collects postcards! Or buy it for yourself and mail the postcards to your friends! Please check out the rest of her shop!

2. I have always admired the items in Elly MacKay’s shop, theatreclouds. Beautiful prints and cards that are truly unique to Etsy. It is really nice to come across a one of a kind shop with such a distinct style. I would recognize her prints anywhere. This pack of 8 Christmas Cards would be great for your holiday mailing. I will probably pick some up myself!

3. AlisaDesign‘s pieces look stylish, unique and comfortable! Her shop features a variety of gorgeously hand knit sweaters. Perfect for a sister or mom. Or for yourself to wear on Christmas Day!

4. The handmade wooden jewelry pieces in solittletimeco‘s shop are adorable and beautiful. A great stocking stuffer for your favorite nice or friend.

5. What kid, boy or girl, wouldn’t love crayons shaped like dinosaurs? I know the 5-year-old in me wants to see them in my stocking Christmas morning. KagesKrayons‘s shop includes so many different crayon shapes, something for every child or child-at-heart.

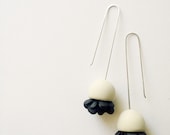
6. Eri‘s beautiful jewelry could be a great gift for many different family members or friends. Each piece is so elegant and beautiful, but you can guarantee it won’t be like anything they already have. I especially like the earrings!

7. I own a pair of these galstern tights and I love them. Not too bold, but just different enough to get noticed. I ordered mine from their website a while ago, and was excited to find them on Etsy recently! A nice edition to any fashionable lady’s wardrobe.

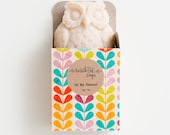
8. A bar of soap shaped like an owl is way too adorable to buy for yourself. Definitely a great gift idea. Seventhtreesoaps ship worldwide form Australia and have many other gift-ready items. Check them out!

9. I just love every piece in theobjectenthusiast‘s shop. Beautiful made-to-order vases and other pieces in different shapes and sizes. The colours she uses are too yummy.

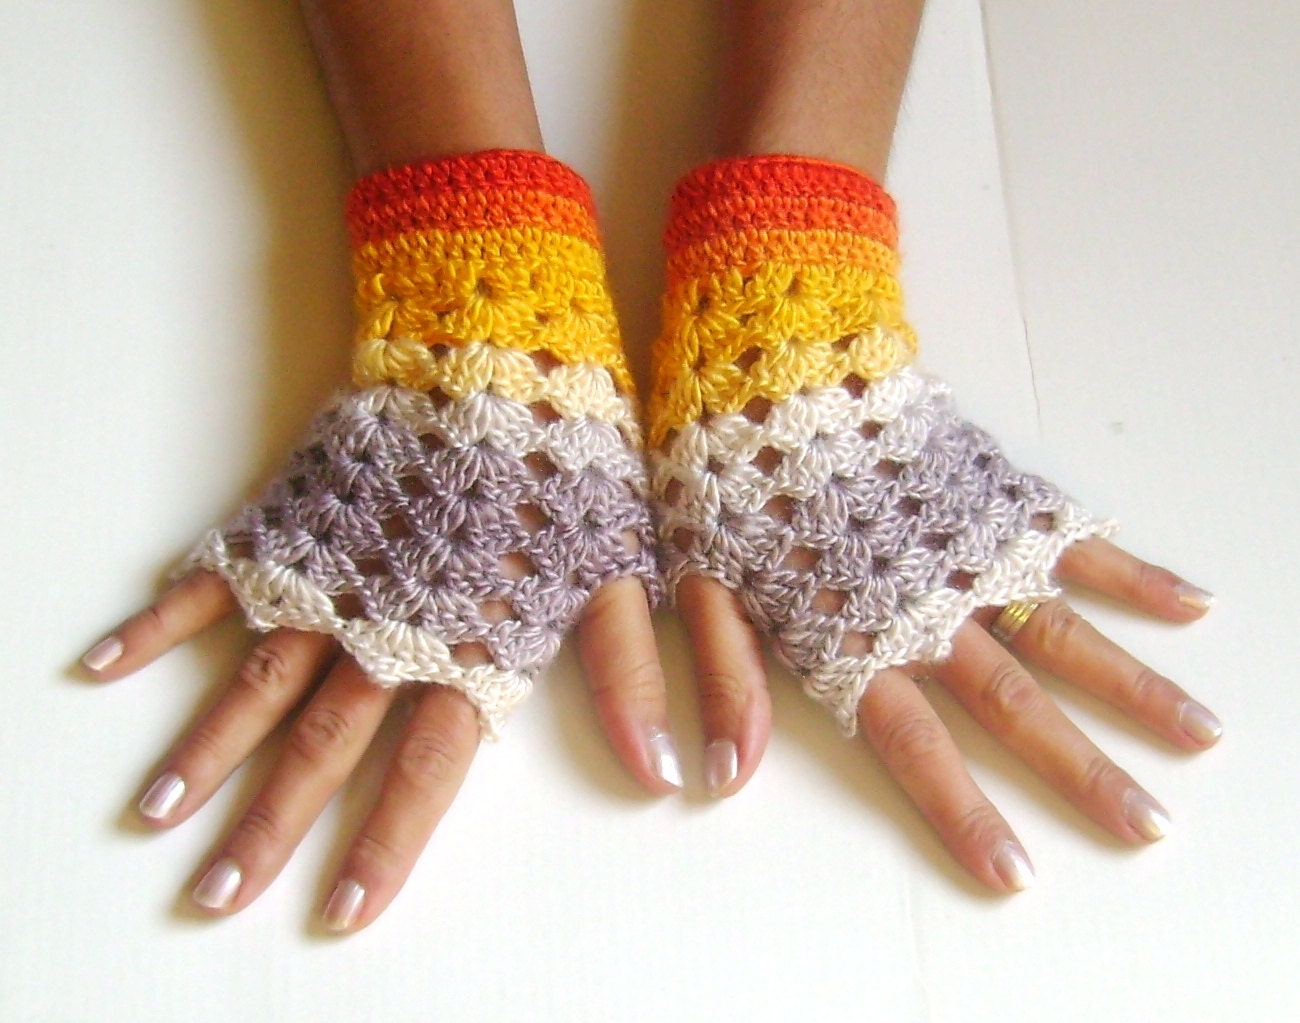
10. Fingerless gloves could be an ideal gift for the photographer in your life. Or the bride-to-be, many lovely bridal gloves in this shop. Check out the variety GloveByJana has to offer!

11. I have drooled over these collars for a while now. Another item you might just have to pick up for yourself. SmArtAnna has a variety of jewelry in her shop as well.

12. The cutest little printable finger puppets would make a great stocking stuffer for any kid. Curmilla‘s shop has a few different designs to choose from for that kid in your life.

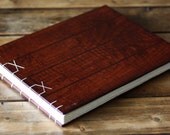
13. An absolutely beautiful hand-bound book for that writer-to-be or anyone you can think of. Boardingschool‘s books are incredibly well-made and one of a kind!

14. LeeCoren‘s handbags are definitely drool-worthy. The bags are handmade with images she has taken.

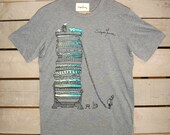
15. Salgado Fenwick is a team from Edmonton, Alberta. They have been part of the Flock & Gather Craft Market in Saskatoon a number of times and I finally picked up one of their shirts in the Spring. (And actually one as a x-mas gift last year). I am not sure if they’ll be at the Flock & Gather Winter Market this year, but you can ask them, or keep checking the F&G blog, here.

16. And the shop I’ve included is NaturalPrettyThings. Please check out their shop! They have so much more than just this delicate necklace.

I hope I inspired your Christmas shopping this year!
If you sell on Etsy, please comment below! I want to see your shop!

Do you have a favorite Etsy shop?


You can find my Etsy shop, here. Follow me and I’ll follow you back!
Use the code “KATEOCT13” at the checkout to get 15% off as a thank you for reading!

I am also on Pinterest, take a look at my Gift Ideas board! Some things to buy, some to DIY and of course more awesome stuff from Etsy!


Follow Me!
Facebook | Twitter | Pinterest | Instagram | Bloglovin’ | Google+ | Etsy

March 26, 2013
by admin
0 comments

The Movement of a Lonely Home

A week home alone and I start to notice the lights and movements that are there all the time and yet still startle and bother me. This project is an exploration of how our eyes and imagination can play tricks on us in certain situations. When I am in the dark room, I often jump slightly, because in the corner of my eye I see movement. It’s always in the same spot, and only when I move my head slightly. After a while I realized it was the way the safety light was reflecting on the side of my safety glasses, always in my peripheral vision and always when I was facing the same direction. If I wasn’t alone in the dark room, I probably would not notice this movement, and would not be startled by it. It is because I am in the dark by myself and my imagination is taking over (and also because I am easily startled). My imagination fills in the blanks that my senses miss.
And the same thing happens at home, when the soft air from the furnace is blowing the crepe paper ornament hanging from the ceiling, or the digital photo frame in my kitchen changes every five seconds, shining different light into the room. Or my flashing alarm clock that I’ve neglected setting is flashing in the mirror at the end of my bed. And the lights that shine through the cracks in the blinds when a car drives by and the shadows of the trees outside move. The glow of the tv that bounces off of everything and tricks me into seeing movement in the rest of the room. I don’t have night vision or eyes on the back of my head, and my imagination makes up for that. In one way, perhaps my brain is trying to prevent me from being startled by warning me of possible outcomes in the dark, but of course it goes irrationally beyond that.

This series of moving images, was made with an iPhone app called Cinemagram. The app simply takes video and loops it continuously or forwards and backwards. I thought this app was appropriate for this series, because it works to capture subtle movement and repeat it. I am interested in the idea of a moving picture, or an image with movement, and how it is different than a video or a film. This is something I have explored in the past using photoshop and a simple fade transition. I slowly faded from one layer to the next, adding elements to the photo, slow enough that just glancing while walking by you couldn’t notice the movement, but when you would look back the image had changed slightly.

Please note, if the images are not moving on this page, please click them to see them on the cinemagr.am website.


Follow Me!
Facebook | Twitter | Pinterest | Instagram | Bloglovin’ | Google+ | Etsy

February 27, 2013
by admin
0 comments

Trichromy Tutorial

My Final Trichromy Image

Last fall I took my first stab at trichromy or the three-colour process.
I first saw this process done by Russian photographer, Sergey Prokudin-Gorskii, in the early 1900s.

Trichromy is a process of creating a colour image using black and white film and colour filters, typically red, green and blue. In order to achieve a colour image from black and white film, you would take three images without any movement of the camera or subject. Each of those three images is taken with a colour filter. Afterwards the three negatives would be projected through colour filters to create one colour image.
We are lucky enough now, that we can use photoshop, instead of projecting the images.

I will show you, using one of my photos, how I combined the three images in photoshop. It was hard for me to figure it out at first, and a lot of tutorials gave very strange ways of doing it, or decided to skip the whole photoshop step.

I used movement in my photographs by purposely not keeping the subject still because I liked the effect.
(This produces a really neat effect when photographing moving water, or trees blowing in the wind).

Trichromy Photoshop Tutorial:

I used the photography studio at my university as my location and my friends as subject. I used a black backdrop, mostly to get a more dramatic effect from the colours.
For each image I had my subject do a series of three movements or poses that I visualized to be one final image. If you are simply taking still colour images, make sure you subject stays very still while you are switching filters.
For this particular image, my subject was doing barrel turns with the veil, and for each colour filter, I tried to catch her at a different point in the barrel turn.
While photographing, I kept a sheet of paper to list the photos I had taken and what colour filter I used, so that when I was scanning and editing it would be easy to tell which should go to which channel. And I tried to keep using the filters in the same order to make it easier to figure out after.
One thing about using colour filters is that they block light. I was using a handheld light metre, which means I had to account for the filters after taking my reading. This website explains how to use filters and adjust your exposure for them.

I did not do the greatest job with this, and I would do a bit more research next time. It didn’t totally hurt my final images because of the movement in the photos, but my green images where always underexposed. If I had taken still images, this would have made the colours not turn out right when photoshopped together. So, remember to make sure you are adjusting for your filters, or use your light metre in your camera with the filter on.

I typically tried each image or pose twice, so I would take six photos, two with each filter for each final image, and bracket my exposures.
I would suggest doing even more than six, especially if you are shooting digitally.

After I developed and scanned the film, I ended up with photos that looked like this.


As you can see, the one in the middle with the green filter is under exposed.

I opened each filtered image in photoshop and did a bit of colour correcting to fix the exposure. And spot toned out the dust and such.
Then I moved the images around until the three were layered the way I wanted. If you are doing still images, you want to make sure that each image is lined up perfectly.

I then cropped the whole image to get rid of the edges and get the composition I wanted.


I then I selected the whole image and copied to my clipboard.
After I opened a new blank image (in the size option it gave me, the size that was copied on my clipboard).

This is the part that took me forever to figure out.
I copied each layer and pasted them into their respective colour channels. See below:
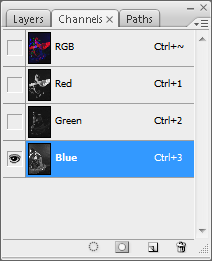
Photoshop Channels

Select the colour channel of the filtered image you are pasting and then paste it onto the channel.
Do this for each colour.
And that’s all there is to it!

If you’d like to see more examples of trichromy, check out this Flickr group.


Follow Me!
Facebook | Twitter | Pinterest | Instagram | Bloglovin’ | Google+ | Etsy